

Teacher's Note: Add a touch sensor without instructions
What is allowed and what is not when building without instructions.
- #432
- 03 May 2017
What is allowed and what is not when building without instructions.

Tips and common mistakes when connecting two beams together
The FIRST LEGO League competition is similar each year. With a little experience you could accomplish most of mission. The goal of this episode is to introduce you to the course, its purpose and approach.

How to organize the different robots and group of students when working on lifting the robot.

Build a robot base to use in the course. You can use the robot base provided by us or you can build one yourself.

Note for the teacher on how to organize the class to use different robot base constructions to accomplish the mission for lifting.

What is the end result? - have the attached on the mission model. What is the mechanism the would make the robot hang on the mission model.
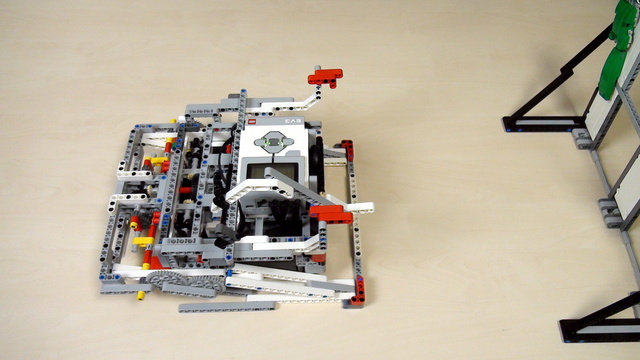
Time to lift the robot. The first approach is by using the 40 teeth gear wheels that come with the LEGO Mindstorms EV3 and NXT robotics sets.

There were a few problems with the 40 teeth gears that we were using. Let's list some of them

The next step of lifting a robot to a mission model is to try to use a rack.

Using the rack depends on the experience of the team. Based on this a different number of gear wheels and racks would be used.

Building a rack is a very important skill during competitions. You should try to build one, learn how to use it and have it as a tool for you next robots. But for this particular BoxRobot, we will not continue with a rack.

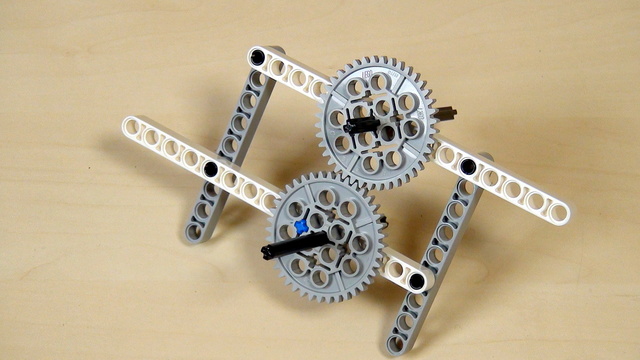
Experiment with changing the orientation and direction of gear wheels. Here are part of the tasks that you should complete before moving forward with the course.
One of the very common problems with the LEGO Mindstorms and LEGO Technic Gear wheels is then a tooth is skipped. In this video, I would like us to discuss this challenge and how do we solve it.

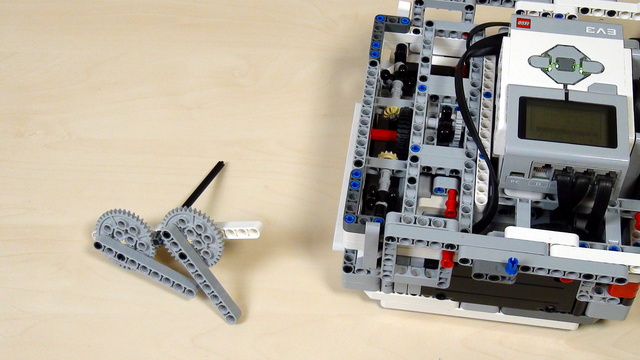
Here is the task for adding a beam on both sides of every gear wheel in your attachment.

The important task before the solution. If you haven't done it already, then attach a new axle at the front of the robot and extend the construction with gear wheels and axles to reach the two legs at the two sides of the robot.

In this video we discuss the durability of the construction of LEGO robots and how do we make them more durable.

Following the principles from the previous video, try to make the attachment that you've built, more stable and durable.

We've already build a number of resources for lifting at FLLCasts.com. But at the end of this course we would have a robot that lifts itself and hangs on the mission model.

How should an instructor use this course when working with students and a group of students in school

Where should you lift the robot? Especially if you don`t have the mission model that we are using