EV3 Phi. Task - acceleration and deceleration
Use any blocks that you wish to solve the following task.
- #412
- 17 Apr 2017

Use any blocks that you wish to solve the following task.


Let's cover the break at end option and learn why there is no lesson about it to students.


In this tutorial, we add another mission to our current program. This mission is - hanging the Gecko from the FIRST LEGO League Animal Allies.


We will demonstrate with a robot what the acceleration is and the effects of high and low acceleration.


In this tutorial, we would build a simple program for controlling the Tetrix robot motors with the GamePads. We use the stick and when the stick is pushed forward the motors move forward. When it is pushed backwards the robot moves backwards.


What should you as a teacher know when the students are trying to achieve a program and robot attachment that could reproduce their behaviour 9 out of 10 times.


We will explain inertia non-scientifically so that we make it easy to understand concept.


How to control the speed of the motors and the speed of the robot.

The more advanced task is to more in a polygon. This would require calculating the degree of each of the turns and RobotC is a language in which you could implement this math calculation very easily.


With the last few videos, we entered the math world. Why we do it and what to keep in mind


The task in this tutorial is to execute the program 10 times and to do it yourself. If you have your attachment then use it. If you have our attachment then use it. But execute the program 10 times and make sure that it works.


How to use the robot when the buttons are not accessible.

In this tutorial, we set the task of implementing another figure with the robot - a triangle.


How great is the great attachment for lifting that we built in this course? How many times can it lift the robot without making an error? How great are your attachments and how could you test them? - the answer is simple. Just try 10 times and they should work at least 9 of them as our attachment is.


The previous tutorial showed you how to copy/paste instructions in RobotC. The current video will introduce you to loops.


In this tutorial, we connect the Motorola phones to the Tetrix controller using the USB hub.


In this video, we introduce two pieces: beam with pins and the angular beam with pins


If you've done the calculation following the previous tutorials you would arrive at a result of 18.75 rotations. But this is not the correct answer. The calculation is wrong, because the math model that we've built, although kind of obvious, is not correct. When experimenting the correct number of rotations would be 37.5. This is a large difference. Two times larger. Exactly two times large. Something should be happening here - and this thing is "planetary mechanism"


We start with the previous program where we made the robot move forward and turn. We continue in this tutorial with repeating the same RobotC instructions four times. Our goal is to make the robot move in a square.


Как да сменим посоката на греда от хоризонтална във вертикална.


This is a teacher's note about the math behind calculating gear ratios with for our lifting attachment. It math model we build in previous tutorials is not exactly correct and here is the explanation why.


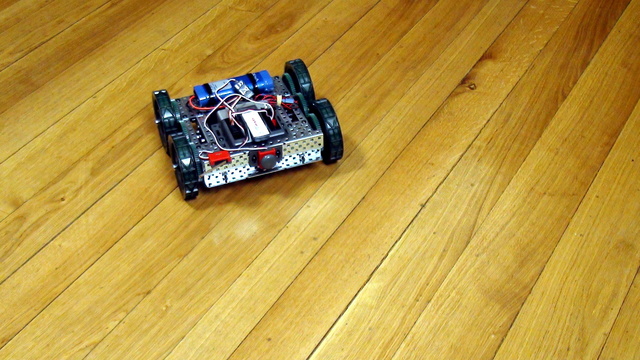
To prepare the robot to move in a square and to use a loop in the program we would first make this VEX EDR robot move forward and turn, using a program developed with RobotC.

Connect the attachment to the box robot and find the correct number of rotations of the middle motor that would bring the robot up and forward and would attach it to the mission model.


How to place the cup on the robot so that the challenge is challenging.

In this tutorial we would introduce you to the concept of loops using this VEX EDR Robot. As a final result we would have a program that makes the robot move in a square and not by repeating the same instructions for move and turn four different times.


We start with FIRST Technical Challenge and how you develop programs with the GamePads. It is up to you to decide how sticks, buttons and triggers from the GamePad will control the different motors of the robot and there are different decisions that you should make.