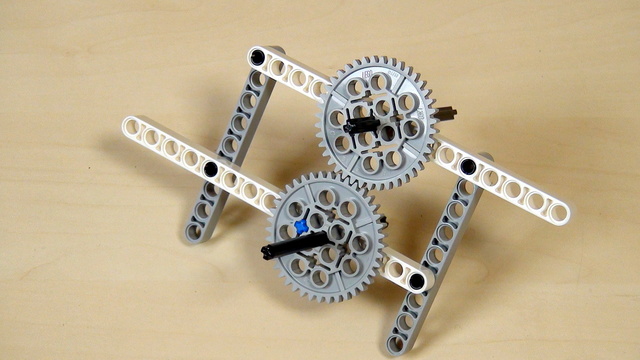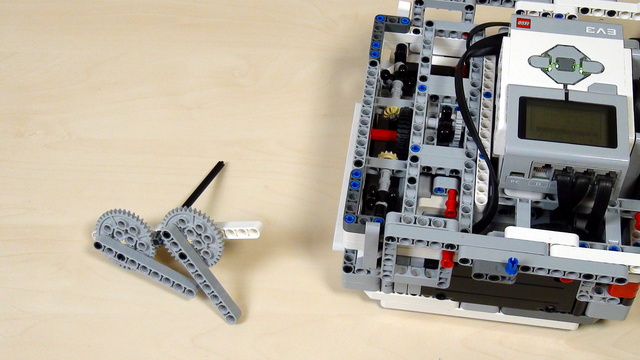
Improving FLL Robot Game. Task. Add a beam to both sides of the gear wheels
Here is the task for adding a beam on both sides of every gear wheel in your attachment.
- #458
- 26 Mar 2017

Here is the task for adding a beam on both sides of every gear wheel in your attachment.


The next important step when turning with a robot is to learn how to do an Arc turn.


One of the very common problems with the LEGO Mindstorms and LEGO Technic Gear wheels is then a tooth is skipped. In this video, I would like us to discuss this challenge and how do we solve it.


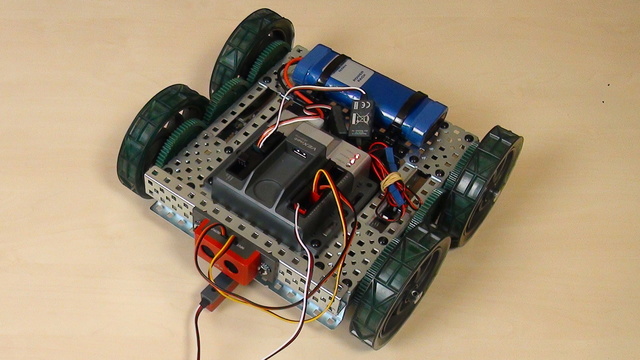
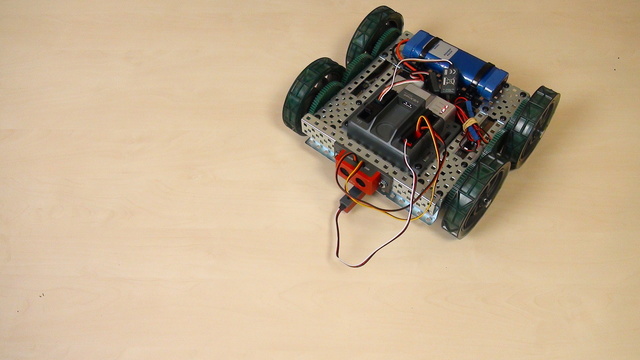
Spinning with the VEX EDR robot involves the use of both motors. The left and the right. Every robot with wheels could spin and this makes not exceptions.


It this episode we would present you with our attachment for lifting the robot.


How does this construction of VEX EDR turn? It has two motors. Let's start with turning right

Experiment with changing the orientation and direction of gear wheels. Here are part of the tasks that you should complete before moving forward with the course.

With this video tutorial, we start with Turns with the VEX EDR robot.


In this tutorial, we would drive the scissors mechanism and there are a number of rules that we must follow


Before moving forward here is the simple task of building the mechanism and extending the legs. Extend the legs to fifteen LEGO units.


The final way for lifting our box robot is by using a scissors mechanism. In this Episode, we would discuss the benefits and advantages of this mechanism.

In this episode we will show you how to build the FiveMinuteBot. We will make a quick overview of this Mindstorm Robot.


In the EV3-G software, you could use negative numbers for power and rotations. In this episode, we would look at what is the meaning of this numbers and make a few notes of where the teacher must be more careful.


Once you start turning how to do you a whole 180 degrees turn. The robot almost does it, but not completely


There is the Move Tank programming block in the software. It allows us to set different power to each motor.
In real life, the same concept is used in cars, for example. The traction control systems apply different power to different wheels, so that the car is more stable on the road during turns or on slippery road.


We will share the idea behind that challenge and how to conduct the challenge in a classroom.


Let's make a competition - there is a pole that the robot must turn around and return home.


Now that you have tried and solved a challenge involving a series of instructions, we would like to share a few best practices.

Specific challenge on programming the robot to move as a Yo-Yo


How to align the wheels and how much should you push for this solution?


There were a few problems with the 40 teeth gears that we were using. Let's list some of them

Build a similar mechanism to this one. Similar, but for your robot. This is the task for you. Try, give yourself half and hour or even an hour.


Time to lift the robot. The first approach is by using the 40 teeth gear wheels that come with the LEGO Mindstorms EV3 and NXT robotics sets.


Remember the passive/active attachment separation that we are making at FLLCasts.com. This applies for all the attachments and in this Episode, we are looking at how to use a passive attachment.

What is the end result? - have the attached on the mission model. What is the mechanism the would make the robot hang on the mission model.


Note for the teacher on how to organize the class to use different robot base constructions to accomplish the mission for lifting.