Here, we’ve listed all the tools and skills you need to solder and desolder components using THT (Through-Hole Technology).

Here, we’ve listed all the tools and skills you need to solder and desolder components using THT (Through-Hole Technology).
Soldering iron
Solder
Soldering iron stand
Sponge or brass tip cleaner
Wire cutters
Helping hands / PCB holder
Flux
Always work in a well-ventilated area.
Never touch the tip of the soldering iron — it gets extremely hot.
Always place the soldering iron in its stand when not in use.
Prep your workspace
- Clear your table, plug in the soldering iron, and let it heat up (about 2–3 minutes).
Tin the tip
- Once hot, melt a small amount of solder on the tip. This is called tinning, and it helps transfer heat better.
Prepare components
- Insert the component leads into the correct PCB holes.
- Flip the board and bend the leads slightly so the part stays in place.
Apply heat
- Touch the iron tip to both the lead and the copper pad at the same time.
- Heat for 1–2 seconds.
Feed the solder
- Touch the solder to the joint (not the iron).
- Let it flow around the lead and pad.
- Remove the solder first, then the iron.
Total heating time: 2–3 seconds. Heating too long can damage the part or board.
Inspect the joint
- A good joint looks shiny and cone-shaped, covering both lead and pad. It should not be dull or blob-like.
Trim excess leads
- Use wire cutters to trim the leads close to the solder joint.
Press down the plunger on the pump until it locks.
Heat the solder joint with the iron.
Quickly press the pump trigger while lifting the iron away.
Wipe the iron tip clean after every use.
Unplug the iron and let it cool before putting it away.
Keep solder sealed when not in use to prevent oxidation.
This Tutorial is used in the following courses and lessons
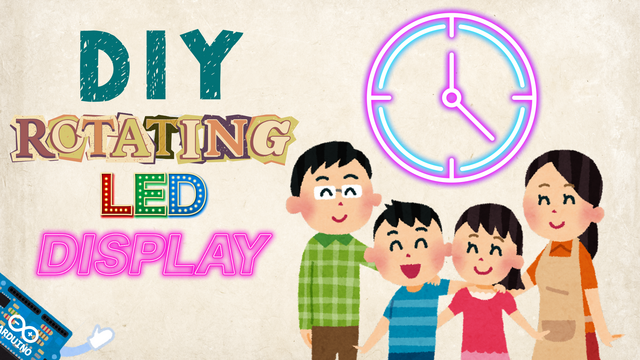
Discover the fun of DIY electronics with your child in this self-paced, beginner-friendly online course, where parents and kids work together to build a rotating LED strip display!
Designed for those with no prior experience, this project-based course walks you through the entire process of assembling a spinning LED display that uses persistence of vision to create a glowing clock.

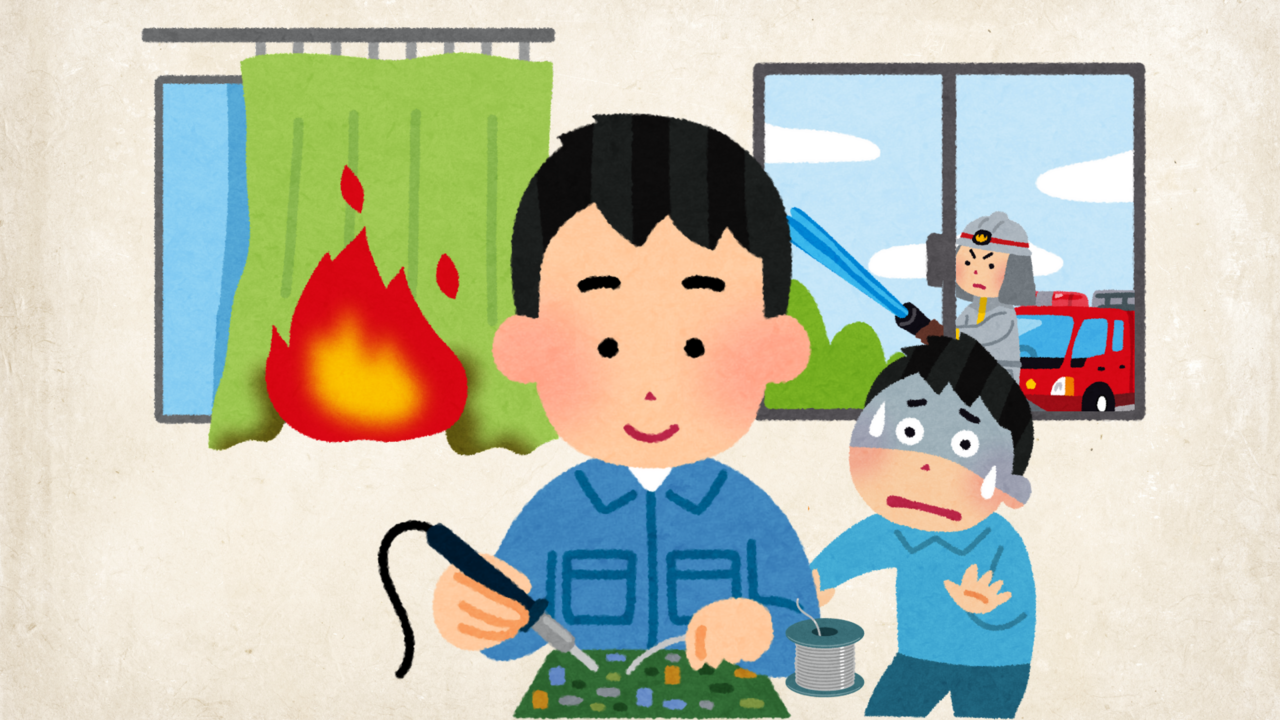
In this lesson, you’ll learn how to solder and attach your circuit to the PCB. To do this safely, a responsible adult must actively supervise and help you.