

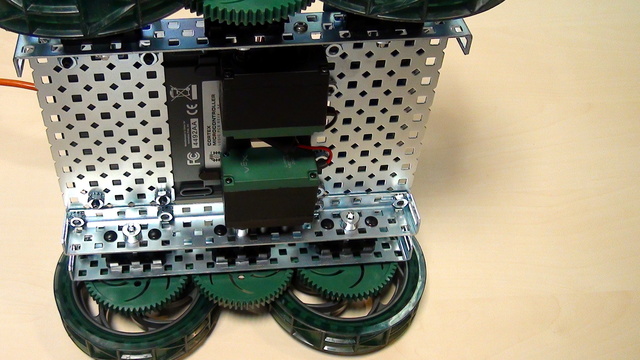
Connect Tetrix Gamepads to the Motorola phones
In this tutorial, we connect the Motorola phones to the Tetrix controller using the USB hub.
- #514
- 12 Apr 2017
In this tutorial, we connect the Motorola phones to the Tetrix controller using the USB hub.

We start with the previous program where we made the robot move forward and turn. We continue in this tutorial with repeating the same RobotC instructions four times. Our goal is to make the robot move in a square.
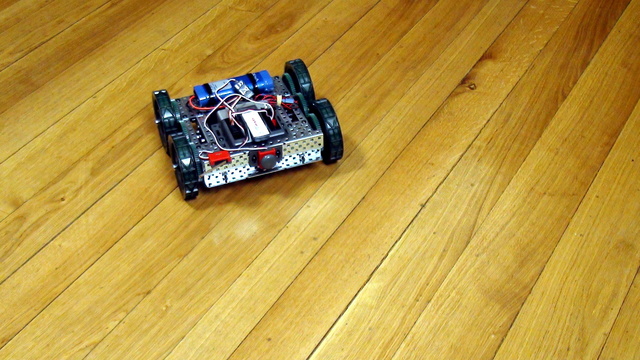
To prepare the robot to move in a square and to use a loop in the program we would first make this VEX EDR robot move forward and turn, using a program developed with RobotC.

In this tutorial we would introduce you to the concept of loops using this VEX EDR Robot. As a final result we would have a program that makes the robot move in a square and not by repeating the same instructions for move and turn four different times.

We start with FIRST Technical Challenge and how you develop programs with the GamePads. It is up to you to decide how sticks, buttons and triggers from the GamePad will control the different motors of the robot and there are different decisions that you should make.

Where is the math while turning? Is there any math involved? Should there be?
The next important step when turning with a robot is to learn how to do an Arc turn.

Spinning with the VEX EDR robot involves the use of both motors. The left and the right. Every robot with wheels could spin and this makes not exceptions.
With this video tutorial, we start with Turns with the VEX EDR robot.

In the EV3-G software, you could use negative numbers for power and rotations. In this episode, we would look at what is the meaning of this numbers and make a few notes of where the teacher must be more careful.

Once you start turning how to do you a whole 180 degrees turn. The robot almost does it, but not completely

Now that you have tried and solved a challenge involving a series of instructions, we would like to share a few best practices.

In this episode we combine in a single program the previous two programs for moving forward and backward.

Now that we know how to make the robot move forward let's see we can make it move backward.

In the RobotC software we could make the robot wait for a couple of seconds by using the wait function. This will give the motors a chance to work and this will actually move the robot.

We are ready to build the first program for moving the robot forward and backward. We learn how to build simple programs for moving the program. But it is not that easy...downloading to the robot does not always result in the robot moving.
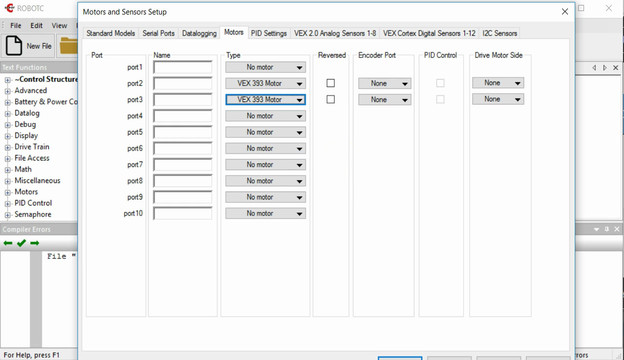
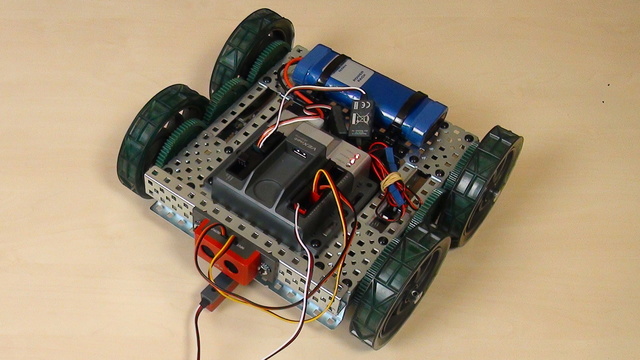
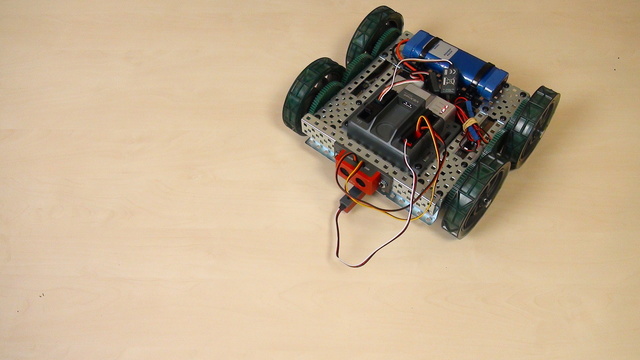
The comunication between the motors and the controller should be configured in the RobotC software. Each motor could be connected on a different port and the goal of the video is to show you how.
Conenct the motors of the VEX EDR motor to the VEX Corted Controller. For connecting we need the motor drivers.

After we've download the software we must install it and most importantly configure it. Without propertly configuring the software it would be difficult to use the Cortex Controller.

To control the VEX Cortex controller we must use a software. In this episode we would download the software from the VEX site. Strange thing is that you must select your region correctly even if you are not in this region

Let's make a program that moves the robot forward and then backward.

Tasks for the Gyro sensor that you can use in STEM classes, while preparing for a competition or just to explore how the sensor works.

The Gyro sensor can be positioned horizontally, vertically or at a random angle. Have you ever wonder what does the gyro detect when it is positioned vertically. This is the subject of this video tutorial for the LEGO Mindstorms EV3 Gyro Sensor.

Let's explain the problem of just waiting for the Gyro sensor to detect an angle and think of why the robotics systems work like that.

Turning with the Gyro Sensor on a specified angle and stopping there have never been easy. It is not going to get any better. However, this is not a problem of the Gyro sensor. The problem is in the way we develop our programs.

The Gyro sensor in LEGO Mindstorms EV3 sets is new for the sets and we answer basic questions about its usage. The sensor detect when the whole constructions turns at a particular angle, but there are a number of gotchas in using it.

You have the controller, you have the diode. The controller has a number of pins (holes). Where should you put the diode so that it starts blinking?
The small holes on the controller are called pins. On our controller we have 32 pins. The more pins that you have, the more elements you can controller with this microcontroller. For this video the interesting pins and 13 and GND