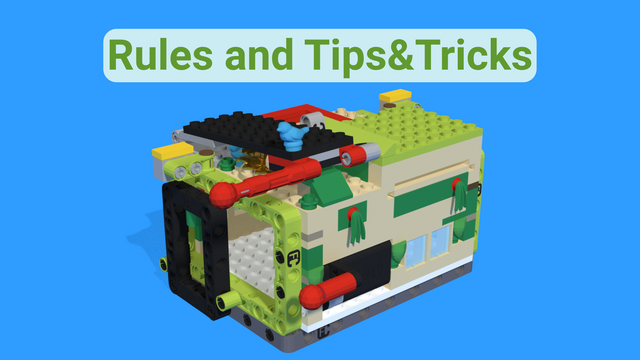
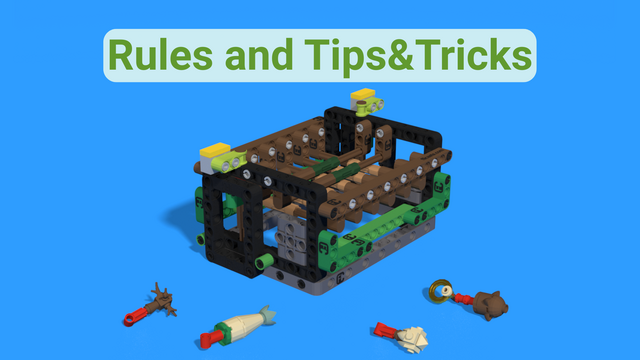
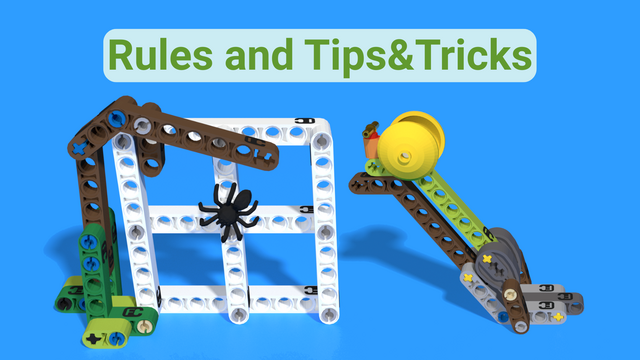
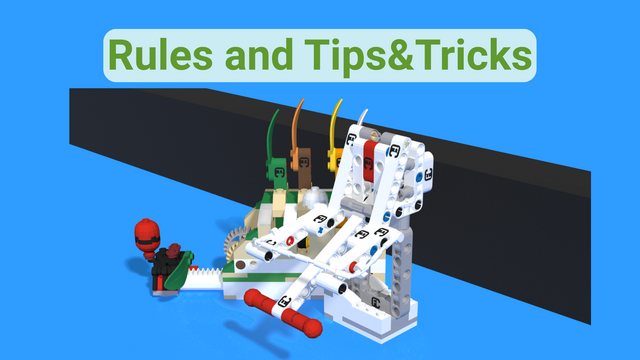
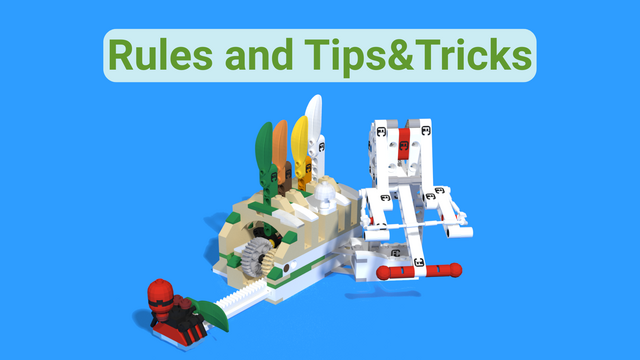
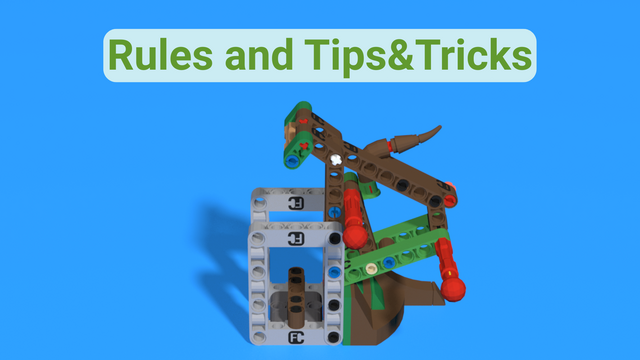
Inspection drone Mission FIRST LEGO League 2019-2020 City Shaper Challenge
Scores:
If the Inspection Drone is Supported by axle (A) on the Bridge: 10
(mission descriptions source https://www.first-lego-league.org/)
- #1424
- 21 Aug 2019

If the Inspection Drone is Supported by axle (A) on the Bridge: 10
(mission descriptions source https://www.first-lego-league.org/)

Score all that apply
If the Hooked Blue Unit is:
Note: You can only get Flag points if you get Bridge points.
Note: Rule 31 allowance: It is okay and expected for Robots to collide while trying to earn Flag points.Note
Note: When clearly only one Robot is holding a Flag raised, only that Robot scores for that Flag
(mission descriptions source https://www.first-lego-league.org/)
Move the robot to the bring. Bring the flags up
The goal of this lesson is to introduce students to the setting for measuring the reflected light of the color sensor and to recall how to follow a line.
Third wheel experiments, changes in the robot, students could choose the task all by themselves. Make sure you have a lot of fun and students complete their tasks. Here is what you should know when conducting this class.
The robot is equipped with two motors, one on each side. As a result, whenever the robot turns, it always follows a curved path, also known as an arc. The size and radius of this arc depend on how the robot is programmed to turn.
This video tutorial focuses on taking the Research Vessel for M15 of the FIRST LEGO League 2024-2025 SUBMERGED Challenge using Nautiq box robot (a LEGO Education SPIKE Prime robot).
This video tutorial focuses on accomplishing M15 Research Vessel of the FIRST LEGO League 2024-2025 SUBMERGED Challenge using the Nautiq box robot (a LEGO Education SPIKE Prime robot). The run uses a pinless latched attachment mounted under the robot for maximum stability. The attachment features a hook that catches the research vessel and pulls it back to the launch area, after which the hook can be removed and the remaining parts reused for the next run.
Important: Before starting this run, ensure the part that locks the boat for the next run is raised; otherwise, the robot cannot hook the vessel correctly. This simple but effective mechanism allows for a quick and reliable retrieval, setting up the next sequence of missions without additional adjustments.
This video tutorial focuses on accomplishing M06 Raise the Mast and M07 Kraken’s Treasure of the FIRST LEGO League 2024-2025 SUBMERGED Challenge using the Nautiq box robot (a LEGO Education SPIKE Prime robot). The run uses a pinless attachment connected to the bottom of the robot, featuring side guides with stoppers for precise mast lifting and a central rubberized section to catch the treasure chest.
The challenge in this run is to collect the treasure before raising the mast fully, as the mission model locks the chest if the mast is lifted too far too soon. The robot must push and lift with great precision, stopping at exactly the right point to avoid triggering the lock, then continue raising the mast to complete the mission. This sequence demonstrates careful mechanical design, accurate programming, and precise timing to accomplish two interconnected missions in one smooth run.
Below is an example of a robot competition field along with the scoring system used to evaluate performance.
![]()
Variables are like small boxes inside the computer that store important information for us. Imagine the following situation:
The await command tells your robot:
“Wait until this action is finished, then continue!”

Without "await", the robot may move on too quickly and not finish its actions properly.
You can only use "await" inside an "async" function.
async def main(): await motor.run_for_time(port.A, 1000, 1000)
We already know how to set the speed of the motor and how long it should move. However, with these commands alone, we cannot control exactly how many degrees the motor turns. To make the motor turn a specific number of degrees, we need to use some simple math.

The motor speed is measured in degrees per second. We can use this to calculate how much the motor will turn using the formula:
S = V * T
S – the distance traveled (in this case, the number of degrees the motor turns);
V – velocity (degrees per second);
T – time (in seconds).
Before we can run Python programs on the robot, we need to open the SPIKE software, create a Python project, and connect the Hub to the computer. In this tutorial, you will learn how to do each of these steps using the LEGO SPIKE software.

During this course, we expect the following from you:
Ask questions when you are curious or need help.
Don’t be afraid to make mistakes - this is how you learn.
Share your ideas, help others, and be open to receiving help.
Listen carefully when the teacher is speaking - it’s important for everyone.
Read your lesson before coming to class.
The teacher does not expect you to know everything. What matters is that you ask when you don’t understand something. Go to your teacher when you need help - they can support you only if you ask.
It’s normal not to succeed the first time. Learning takes practice. Keep trying, testing, and improving your solution until you succeed.
The whole class is a team. Help each other, share ideas, and learn together. It’s okay to give hints or learn from others - this helps everyone improve.
When the teacher is explaining something, it is important for everyone. You might hear a solution to a problem you will face later.
You will have access to e-textbooks that you can read at home on a phone, tablet, or computer. Try to think about the tasks in advance so you are ready to work during the lesson.
Here’s a list of all the tools you’ll need to build the DIY Rotating LED Clock Display. Each tool links to Amazon. If a link isn’t available, we’ve included tips on how to find another one.

Here’s a list of all the parts you need to build the DIY Rotating LED Clock Display. Each part links to Amazon. If a link doesn’t work, don’t worry - we’ve also added tips on how to find a replacement.

Resistors are essential electronic components that limit the flow of electric current in a circuit. Because they’re so small, their resistance value (measured in ohms, Ω) is usually marked with colored bands instead of numbers. Here's how to read them:
It is part of the Functions block, but what does it do?