Appart from the Inputs there is also one more connection that we must do to have the motor driver properly connected to the controller.

To access the full video please subscribe to FLLCasts.com
- #819
- 23 Mar 2018
TL. DR.
Connect Raspberry Pi 5V output to driver 5V. Connect the controller ground to motor driver ground
Motor Drive VCC and GND
The Motor Driver has 7 PCB Terminal Connectors - those blue things. 4 of them are for the motors. One is for 5V voltage (coming from the controller), one is for 12V voltage (coming from the batteries) and 1 is for GND. We would use those for the motors in the next section. In this tutorial, we must connect the motor driver VCC and GND. The basic reason is that without this connection we won't have a proper connecting between the motor driver and the controller and the whole system won't work.
How to connect them?
Take a look at the picture below. We have the three PCB Terminal Connectors in blue. From left two right these are 12V, GND, 5V.
12V is connected to the batteries. Red cable to the left.
GND is connected to the batteries and to the controller.
5V should be connected to the controller. Red cable to the right.

Courses and lessons with this Tutorial
This Tutorial is used in the following courses and lessons
Perfect STEM course. Module 1 - Smart Car with Raspberry PI
Disassemble a remote control car. Change the brain of the car with a smart computer like Raspberry Pi. Build a smart device with artificial intelligence that you could control from your phone and that could freely navigate itself in the real world and on the Internet. Use your hands. Develop programs for your robot and your phone. Be curious and invent.
The perfect course lives up to its name. You move through the content, we check it and return feedback to you.
In the end, you should be able to better understand how to program and design smart devices that would make the world a better place. For everybody age 12+, 16+, 21+, 35+, etc. The hardware costs about 150$. It changes through the years so it might take some time for you to find it as Raspberry PI, motor drivers, power banks and h-bridges.. they change. Note that the course was designed to be led by a teacher with a decent knowledge in embedded hardware and software. This, on the other hand should not stop you, if you are curious.
- 118
- 42:47
- 136

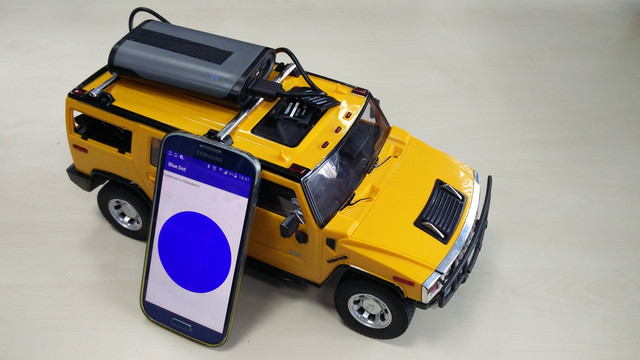
Connecting Motor driver to Controller
We have the L298N Motor Driver. Rear motors are connected to the driver. Now it is time to connect the Raspberry Pi. The Raspberry Pi will control the motor driver and from there the car motors.
- 3
- 0
- 3
- 3d_rotation 1