
EV3 basics course. Touch Sensor. Programing. Pressed/Released (part 2)
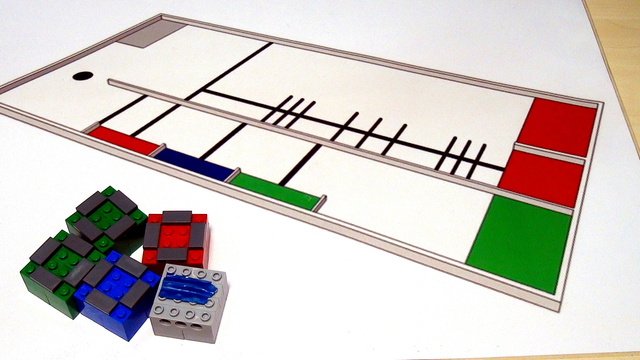
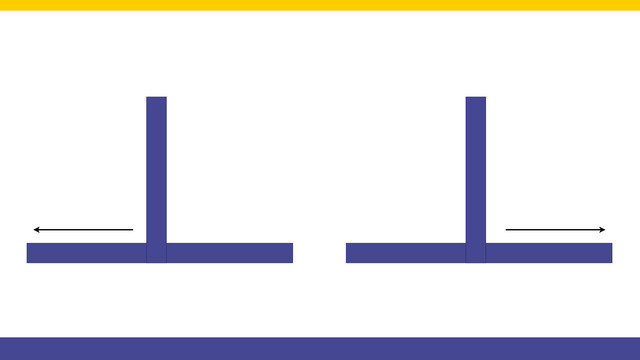
We create a program for detecting when the Touch Sensor was Pressed/Released. Move until it is pressed, continue when it is released.
- #139
- 08 Oct 2015
We create a program for detecting when the Touch Sensor was Pressed/Released. Move until it is pressed, continue when it is released.

Scratch е много добра платформа за да започнете да се учите на програмиране. Ето как да започнете и какво ви трябва да знаете, за да се ориентирате първоначално!

The way sensors and programs work in a robotics system is sometimes not-intuitive for a beginner, but nevertheless very logical. Building a program for a touch sensors for "Press->Go->Press->Stop" using the EV3-G software could be quite challenging at the beginning even for experienced teachers, students and robot builders.


In the first LEGO tutorial we started following a wall with the Ultrasonic Sensor. In this tutorial we would improve the program, remove the zig zag movement and make it very smooth.

"What is the light in the room?" - should it even matter. You can use one program for all lighting conditions by calibrating the color/light sensor of the LEGO Mindstorms EV3/NXT robots.

Tasks for school STEM classes or home exersie. Try to solve them to submit your solutions below.

Experiment with moving the robot in different geometrical figures. The tasks could be used in STEM classes for introducing students to geometry and math.

Move the robot using the Move Steering block. We explore what the different values for Steering mean and how to use them. We also explore how the motor is configured to run for a number of rotations or seconds and what is the difference.

Next important state is Turn Right with our robot. This happens when we detect a line on the right.

Every time we start the robot we want to start from the same place, not only in terms of where we are on the field but also in terms of how are the motors rotate. The motors have an internal sensor for detecting the rotation. Because of this they know how rotated they are. It is a very good practice to always reset the motors before we start a competition run especially at FIRST LEGO League or World Robot Olympiad competitions

Tasks for STEM classroom and home exercise to get you used to using the LEGO Mindstorms Touch sensor. Solve them, build a program, record a video and upload your solutions below.

This second part continues with importing two previously developed in Episode 53 blocks into our program. With them we can for align to lines. We program the robot to align to the cross line and start following it.
We are working on the World Robotics Olympiad (WRO) 2013 competition and its elementary part. The series will introduce three different concepts and this would be Arrays, Menus and Counting different lines. In the video you will see the robot working as it is in the final stage.

We can Turn Right. We can Turn Left. How do we decide which way to go if there are lines both to the left and to the right. Check out the video.

Next state in our state machine programming pattern is the "Turn Left" state and the corresponding behaviour.

Let's record the values of the Gyro Sensor while the robot is moving and is trying to keep its orientation straight. This is an interesting experiment and we will have to use file access to write the values to a file.

We have previously aligned to lines with the Color Sensors. In this series we are doing the same program, but with Ultrasonic Sensors that are aligning the robot to a Wall.

Showing the same run, but from a different angle. This allows you to see more of the way we sensors work and how exactly the robot positions itself.

Засичането на посока с камера в Scratch е много полезен инструмент за управляване на спрайта ни чрез движение. Сега ще разберете как работи и как да го изпозлвате!

(LEGO humans of course, not real humans :) ). Working on World Robotics Olympiad 2014 elementary challenge. Collecting modules, bringing them together and lifting them. A very funny and interesting competition that we would explore in this and the next video tutorials from the series

This video tutorial is about understanding the "magic". In this video tutorial, we would conduct an experiment and will look at how exactly does the integral part of the PID algorithm compensate for the error that the LEGO Mindstorms EV3 robot makes.

In this video we look at the robotics mechanism for dropping the different blocks into the different region on the World Robotics Olympiad 2013 field.
All worked as expected, up until know because the robot got lost. This happens when we turn right and the line does not continue to the right. Now the robot must somehow understand that it is "lost" and escape.

After several questions about the use of the LEGO Mindstorms NXT Light Sensor with the EV3 software, we have decided to go through this problem in this video tutorial and pay special attention to the Raw Sensor Value Block.

Sometimes when we are working with sensors it is important that the time between two consecutive samples is the same. This will make each sample equally important and independent of how much time it took to take it. In this video tutorial, we would use the EV3-G timer block to make a "WaitForTick" program where the time between each sample of the EV3 Gyro takes exactly 0.02 seconds.

Arriving at a final solution. There is still room for improvement on using the Mindstorms Ultrasonic Sensor for aligning to walls, but we hope the whole five videos could give you a good idea of how to start with a problem and reach a solution.

Based on a request from Abdulah we decided to build a tutorial on how to use Hi Technic Color Sensor and EV3-G Software. There is a special block imported in the software that helps you use the sensor.