
Connecting the speed controller - part 4
Time to make the final connection and complete the prototype.
- #2517
- 07 Nov 2025
Time to make the final connection and complete the prototype.
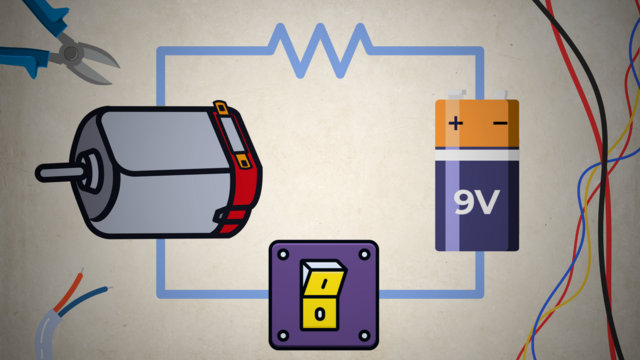
To demonstrate that it does not matter where in the circuit we place the switch, we placed it at the negative battery terminal. However, in practice, it is always better to put it near the positive terminal as it lowers the area that can damage your electronics if accidentally touched by other power sources or grounding.
You can notice that the two positive terminals are placed in the middle. That is a common practice that has a few functionalities, like shortening the paths on the PCB, but the main purpose is to lower the chance that the power cables connected directly to the battery are more difficult to touch accidentally.
The motor’s contacts are connected by a wire that is wrapped in a special way. When electricity flows through the wire, it creates a magnetic field that makes the shaft spin. The direction the shaft spins depends on which way the electricity flows. If you switch the wires, the shaft will just spin the other way, and nothing bad will happen. The plus (+) and minus (–) marks on the motor only show which way to connect it if you want the shaft to spin in a certain direction.
Notice that we connect the switch to the red cables and not the black. That is standard practice aimed at minimizing the points through which power can accidentally be connected to other electrical components. Stopping the power near its source is the best way to do it.
Connecting the other side of the motor directly to the battery will turn it on, but we want a way to control when we turn it on without having to disconnect and reconnect cables constantly. For that reason, we added a switch between one of the connections from the motor to the battery. It may seem easier to use a larger switch, but the DIP switch is meant to be soldered to a PCB, and that is what we'll do in the end.
It doesn’t matter if you connect the wire to the positive (cathode) or the negative (anode) terminal of the battery.
Note that for power sources, the cathode and anode are marked opposite to that of diodes and other electronics. In them, the cathode is the positive terminal and the anode is the negative one.

Here’s a list of all the tools you’ll need to build the DIY Rotating LED Clock Display. Each tool links to Amazon. If a link isn’t available, we’ve included tips on how to find another one.
Here’s a list of all the parts you need to build the DIY Rotating LED Clock Display. Each part links to Amazon. If a link doesn’t work, don’t worry - we’ve also added tips on how to find a replacement.

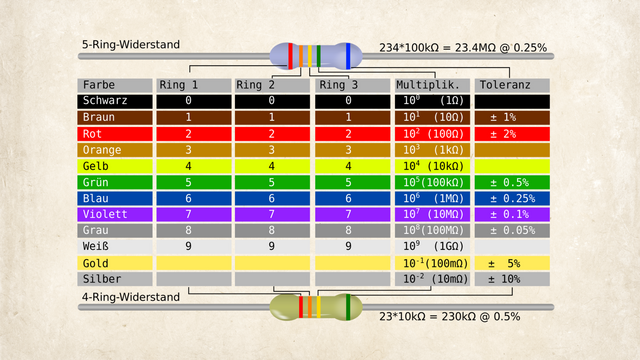
Resistors are essential electronic components that limit the flow of electric current in a circuit. Because they’re so small, their resistance value (measured in ohms, Ω) is usually marked with colored bands instead of numbers. Here's how to read them:
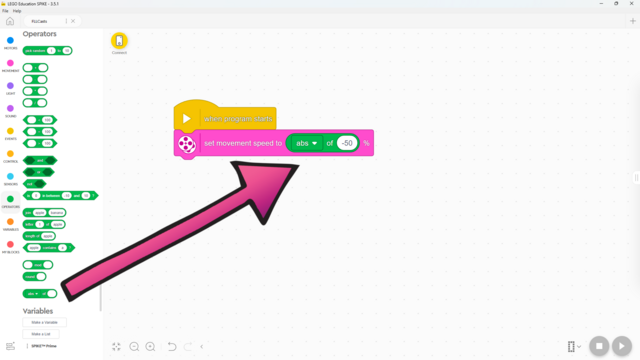
Това е част от блокчето с функции, но какво прави?

Тъй като това е музикално ниво, е важно да се установят някои правила за звуците, които роботите издават. Учениците често не осъзнават колко шумно може да стане, затова им напомнете да намалят силата на звука, за да чуят хъбовете, и да спрат програмите си навреме, тъй като непрекъснатите звуци могат да станат доста силни.
В този урок учениците ще научат много от ключовите концепции, необходими за останалата част от курса. Ето защо има малко конструиране и основно изследване с един сензор за сила. Уверете се, че разбират разликата между височина на тона и сила на звука. Въпреки че са въведени много нови блокове, те са предимно прости и подобни на предишните. Тези блокове ще бъдат използвани и в много бъдещи уроци, което ще даде на учениците достатъчно време да се запознаят с тях. До края на урока учениците би трябвало да са изпробвали следните две програми:

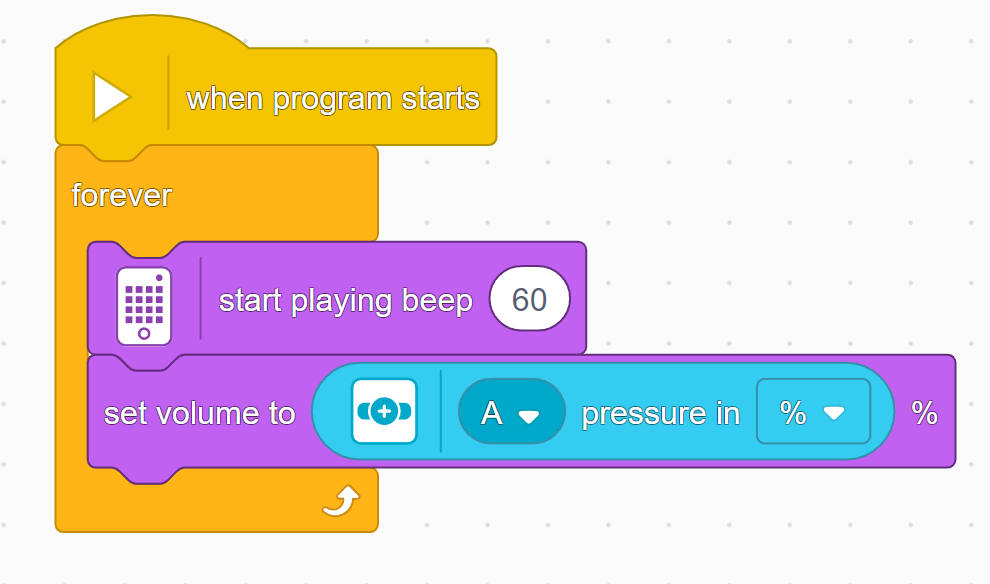
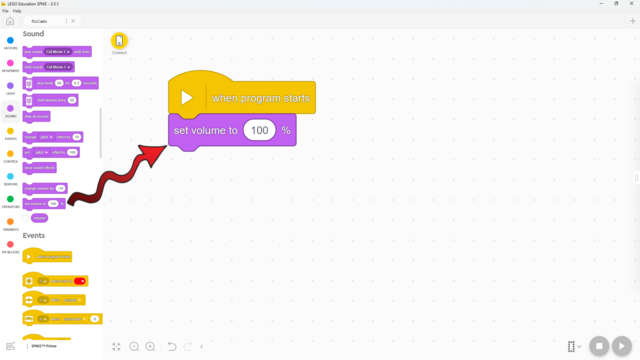
Голяма част от звука е силата му. Ето как да я промените!
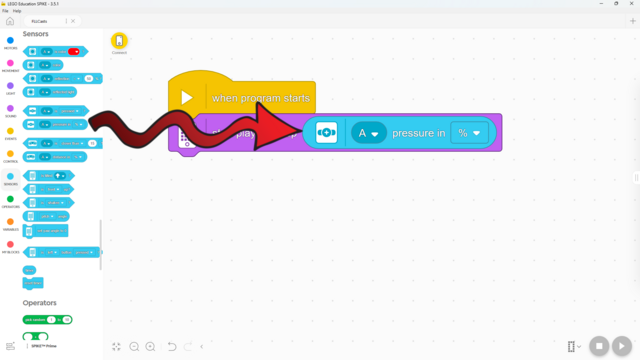
Сензора за сила може да засече колко силно го натискаме! Ето как:
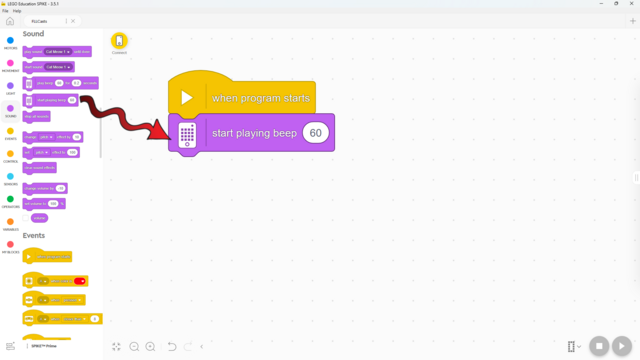
Знаете ли, че хъба ви може да пуска звук? Ето как!
Знаете ли, че вашият хъб може да възпроизвежда звук? Ето как!
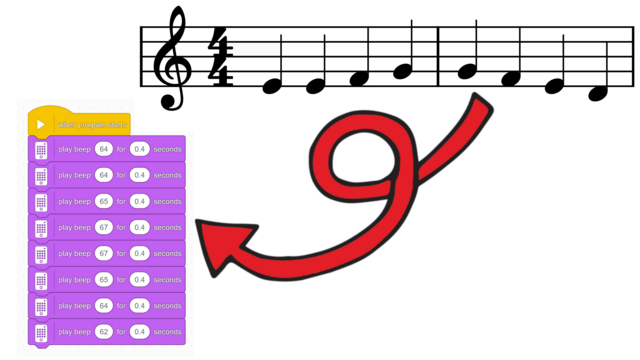
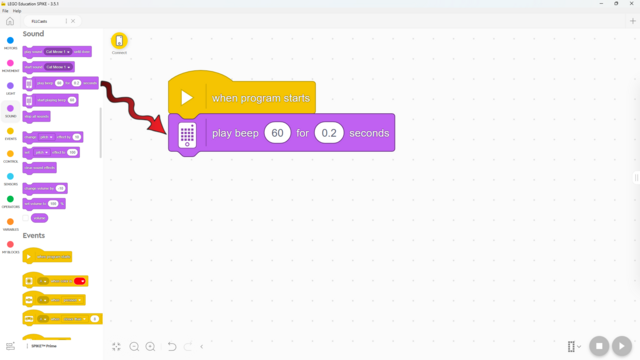
Искате ли да програмирате любимата си музика на SPIKE Prime? Ето как!
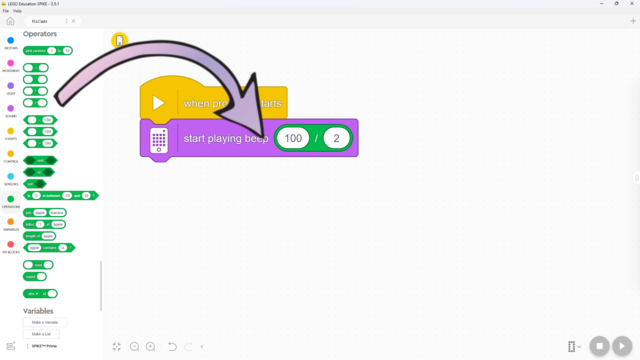
Вие знаете как работи делението в математиката - ето как да го направите в SPIKE Prime!
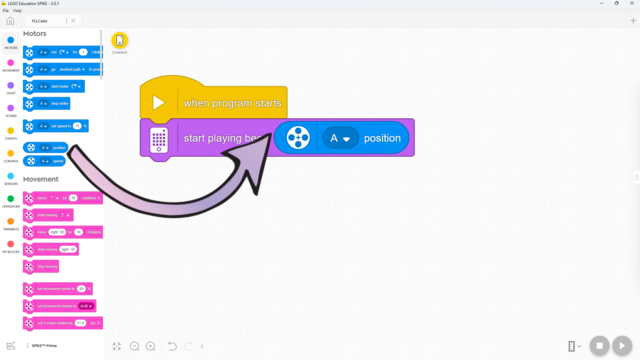
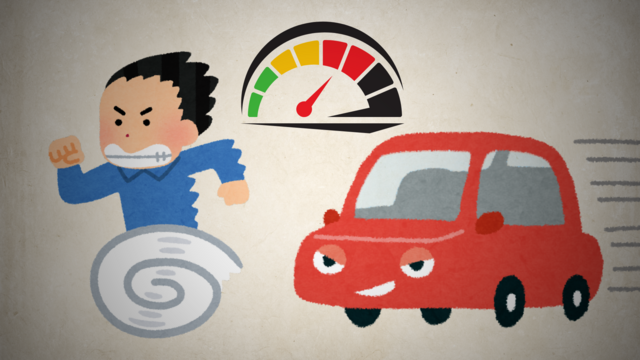
Знаете ли, че можете да използвате моторите като сензори? Ето как!
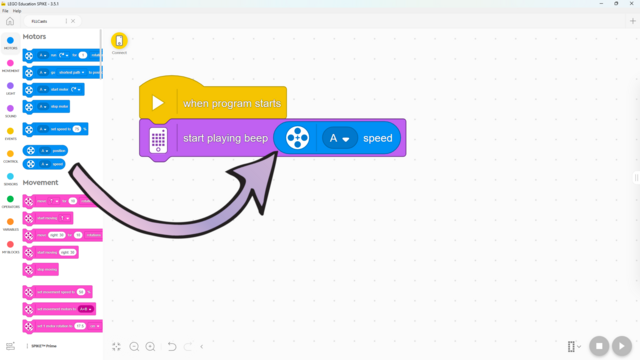
Знаете ли, че можете да използвате моторите като сензори? Ето как!