A clutch is a mechanical device that is used for engaging or disengaging power transmission. Now we will see how we can make such a device using LEGO.

To access the full video please subscribe to FLLCasts.com
- #908
- 30 Jul 2018
- 0:17
The magic comes from the following LEGO Technic parts:

First, we have a gear wheel that is quite different from the other gear wheels. Notice that the hole in the middle of the wheel is not like a plus, but a circle.

As a result, the wheel does not rotate when the axle, to which it is attached, rotates.
If we take a look at the inner side of the gear wheel, we will see it has four ridges.
 This allows us to stack it on top of this part:

It also has four ridges and when rotating, the gear wheel on top of it will rotate as well.
 If we take a closer look at this part, we will notice that its hole is not typical for an axle.
 Usually, this part is used together with:

They stack together and engage perfectly. So, if we have the following construction and we rotate the axle, the red driving ring will also rotate. As the driving ring and the gear wheel are not stacked together, when we rotate the axle, the gear wheel will not rotate.
Nevertheless, if we slightly change the setup to:
by rotating the axle, we will also rotate the gear wheel.
Basically, this is the mechanism of a cluch. When the driving ring and the gearwheel are engaged, the motion from the motor is transfered to the end of the system. If they are not, the motion from the motor is not transfered further.
Finally, we have the following part:

It is used to engage and disengage the clutch. It can be achieved as follows:
A perfect example of the clutch is the catapult. When the clutch is engaged, the motor stalls and holds the brick up and the load down. Once the clutch is disengaged, there is nothing to hold the brick up. Due to its wheight, the brick goes down and the catapult shoots. As simple as that :)
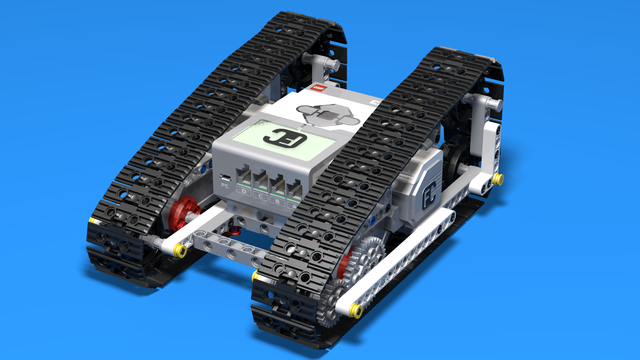
Catapult without a bottom base built from LEGO Mindstorms EV3
Building instructions for the LEGO Mindstorms EV3 Catapult. The robot has a motor, a clutch to control it for manual shooting and a touch sensor for automatic loading. The bottom base is removed which means the Catapult could not be turned around. Nevertheless, the baseless robot is small enough to be built in class.

![]()
Courses and lessons with this Tutorial
This Tutorial is used in the following courses and lessons

Instructors Remote Training
If you are working with students and you want to introduce Robotics to your class or you want to mentor a FLL team, but you are insecure about your technical knowledge in the Robotics field, then this is the right place for you. Having in mind teachers' busy schedule, we have design two different schedules and added an option to design one just for you. FLLCasts's Mindstorms EV3 Robotics Online Training is the perfect match for any teacher.
After the completion of each task the participant has to upload his solution for verification.
- 183
- 280:11
- 156

Threads and Multi-threading
So far we have created programs that execute actions one after another. But sometimes we need to perform two actions at the same time. How do we achieve that?
- 5
- 1
- 9
- 3d_rotation 1
Level B2. "Military Technologies". Robotics with LEGO
The firfth level of the Robotics with LEGO curriculum for students in second, third or fourth grades.
The students build many robots with chain-treads. The Color Sensor is introduced and robots use it to recognize the colors of the objects around them. Students learn about gears, basic gear constructions, and their application. Robots now can stop on a black line and can follow a line using their sensor.
- 37
- 6:37
- 111

Lesson 7 - Catapult and Clutch
For students who will not take two levels in a row today is their last lesson.
- 5
- 4
- 8
- 3d_rotation 1