These challenges will throw you in the deep water, get prepared and read carefully.

To access the full video please subscribe to FLLCasts.com
- #835
- 09 Apr 2018
Read carefully all the python code in ledButtonDemo.py
Try to understand while loops in that example. In the previous ledPulseDemo.py there were for loops that repeat fixed amount of times.
While loops repeat until a condition is met.
Create a program, that waits for a button to starts and then the led blinks
The GPIO.input() function is what reads the button and True means that the button is pressed. That put in a while loop is what creates a wait-for-button functionality.
Name the program waitButton.py
Create a program that makes the LED pulse up faster than in the demo
Here we expect you to open the previous demo and merge codes together.
One of the ways to achieve speed is to create a bigger step of increase in the for loop with the help of a third number.
Hint: in the line
for x in range(max_light, 0, -1): # this is a loop with 60 repetitions, from 60 to 1, counting backwards
the number -1 is the step of change in each repetition.
Name the program ledPulseUpFast.py
Create a program that makes the LED pulse down faster than in the demo
This task is the same as the other one, but here we want you to change the pause between the repetitions in the loop, thus making the loop faster.
Name the program ledPulseDownFast.py
Each button press increases a counter with 10 and LED lights with that counter
That is task is quite a mouthful if you are not careful. Remeber:
x = 0                                # x will be used for counting, therefore it is called counter

while x < max_light:                        # the condition is x to become more than 59

    x = x + 1                        # we must increase x manually, in order to leave the loop
Name the program ledPulseUpButtonPress.py
Courses and lessons with this Tutorial
This Tutorial is used in the following courses and lessons
Perfect STEM course. Module 1 - Smart Car with Raspberry PI
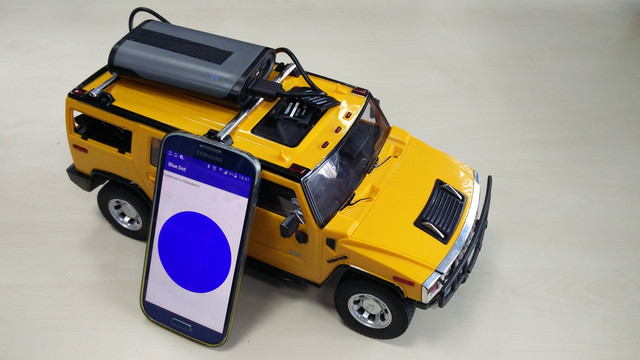
Disassemble a remote control car. Change the brain of the car with a smart computer like Raspberry Pi. Build a smart device with artificial intelligence that you could control from your phone and that could freely navigate itself in the real world and on the Internet. Use your hands. Develop programs for your robot and your phone. Be curious and invent.
The perfect course lives up to its name. You move through the content, we check it and return feedback to you.
In the end, you should be able to better understand how to program and design smart devices that would make the world a better place. For everybody age 12+, 16+, 21+, 35+, etc. The hardware costs about 150$. It changes through the years so it might take some time for you to find it as Raspberry PI, motor drivers, power banks and h-bridges.. they change. Note that the course was designed to be led by a teacher with a decent knowledge in embedded hardware and software. This, on the other hand should not stop you, if you are curious.
- 118
- 42:47
- 136

Create Python programs using the button to control the car LEDs
These challenges will throw you in the deep water, get prepared and read carefully.
- 2
- 0
- 5
- 3d_rotation 0