Once we know the IP address of the Raspberry Pi we can connect to it through our computer and communicate with it. There are different ways to do this using different operating systems. On Windows, we are going to use PuTTY

To access the full video please subscribe to FLLCasts.com
- #693
- 13 Apr 2018
TL; DR;
Download and install PuTTY. Type the IP of the Raspberry PI as a host, select SSH, set port to 22 and select Open. If a dialogue appears, select YES.
What is PuTTY?
It is an open source software that's used to establish connections between two computers that support a protocol called SSH (Secure Shell). The Raspberry PI that you have supports this kind of communication so we can connect to the Raspberry PI using the tool PuTTY and could send commands to it. We can, for example, send a command to the Raspberry PI to tell us its name, or to list all the programs that it has and many, many other commands that you are about to learn.
Download PuTTY
The official site is https://www.putty.org/.
Install and run PuTTY
After downloading, install it, following the onscreen wizard. Run it after installation.
Connect to the Raspberry Pi
- Enter the IP address of the Raspberry Pi. This could be 192.168.1.119 or whatever the IP address you've received when connecting with the Raspberry Pi to the internet.
- Make sure "SSH" is selected and Port is 22. Press Open at the bottom of the window.
- Enter username and password for the Raspberry PI.

- A screen might appear like the one below. Select OK on this screen. It will be a subject of another episode on why this screen appears.

- On the next screen enter username and password.
These are
username: student
password: student (no letters will appear on the screen and that is normal; secure business)
At this stage, you've successfully connected to the Raspberry Pi and could start sending commands to it. The screen would be similar to this:

Courses and lessons with this Tutorial
This Tutorial is used in the following courses and lessons
Perfect STEM course. Module 1 - Smart Car with Raspberry PI
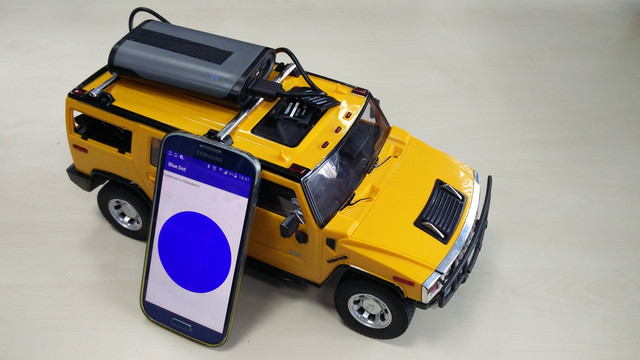
Disassemble a remote control car. Change the brain of the car with a smart computer like Raspberry Pi. Build a smart device with artificial intelligence that you could control from your phone and that could freely navigate itself in the real world and on the Internet. Use your hands. Develop programs for your robot and your phone. Be curious and invent.
The perfect course lives up to its name. You move through the content, we check it and return feedback to you.
In the end, you should be able to better understand how to program and design smart devices that would make the world a better place. For everybody age 12+, 16+, 21+, 35+, etc. The hardware costs about 150$. It changes through the years so it might take some time for you to find it as Raspberry PI, motor drivers, power banks and h-bridges.. they change. Note that the course was designed to be led by a teacher with a decent knowledge in embedded hardware and software. This, on the other hand should not stop you, if you are curious.
- 118
- 42:47
- 136

Connect to the car from computer
Once we know the IP address of the Raspberry Pi we can connect to it through our computer and communicate with it. There are different ways to do this using different operating systems. On Windows, we are going to use PuTTY
- 3
- 0
- 5
- 3d_rotation 0