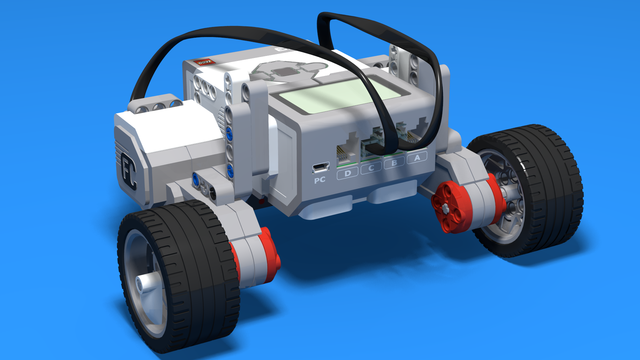
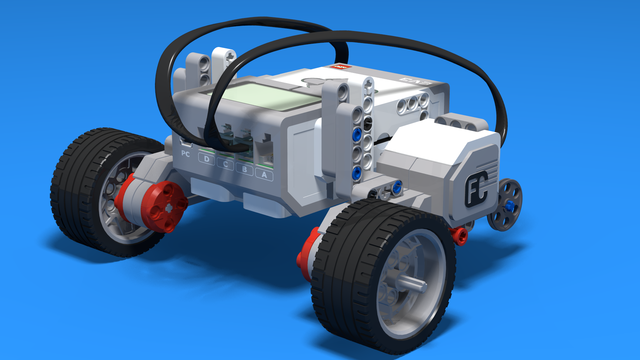
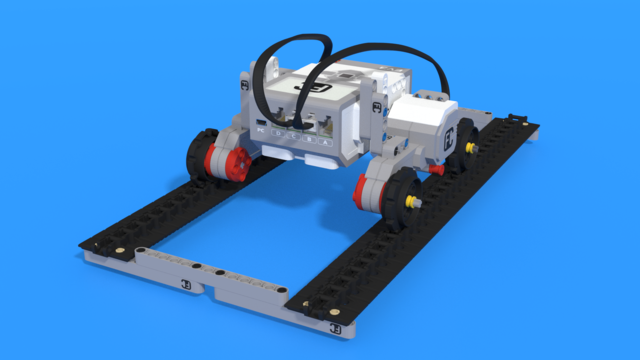
Here we will demonstrate some original approaches about making quick and efficient turns with a robot.

To access the full video please subscribe to FLLCasts.com
- #624
- 20 Aug 2017
Pivot turn with one motor
What we have learned so far is that we can make turns using one motor. Usually, this is done by moving forward with the left motor for a right turn and by moving forward with the right motor for a left turn.
Pushing against an obstacle
What will happen if we turn when the robot has pushed against an obstacle?
Usually, the robot pushes against an obstacle.
Usually, in order to avoid the clash, we add a movement backward so that the robot will move away from the obstacle and then turn.
And the task is solved.
Is there a faster solution with fewer actions?
Turning backward using one motor
The robot can make four types of turns using one motor:
- Turn by moving the left motor forward;
- Turn by moving the right motor forward;
- Turn by moving the left motor backward;
- Turn by moving the right motor backward.
What will be the effect from turning backward? The robot will drift away from the obstacle making one movement only and will stop in a position allowing it to go round the object!
Courses and lessons with this Tutorial
This Tutorial is used in the following courses and lessons

Robotics with LEGO - Level 1.0 - Adventure in Space
The first level of the Robotics with LEGO curriculum for students in fifth to twelfth grades.
Various constructions with robots are built. Learn how to control the motors so that the robot navigates around the Moon and Earth in various ways. Getting to know the first two sensors. The robot can feel its surroundings with the help of the Touch sensor and avoid obstacles.
The Ultrasonic distance sensor can help the robot avoid obstacles. Students work with concepts like loop, degrees and medium motor. Robots can now do two different actions at the same time - while solving missions on a field, the third motor clears detected obstacles.
- 126
- 123:52
- 150

Instructors Remote Training
If you are working with students and you want to introduce Robotics to your class or you want to mentor a FLL team, but you are insecure about your technical knowledge in the Robotics field, then this is the right place for you. Having in mind teachers' busy schedule, we have design two different schedules and added an option to design one just for you. FLLCasts's Mindstorms EV3 Robotics Online Training is the perfect match for any teacher.
After the completion of each task the participant has to upload his solution for verification.
- 183
- 280:11
- 156

Touch Sensor
Today we will tell you what is touch sensor is and how to program it.
- 6
- 0
- 6
- 3d_rotation 0

Robotics with LEGO - Level 1.0 - Adventure in Space
The first level of the Robotics with LEGO curriculum for students in fifth to twelfth grades.
Various constructions with robots are built. Learn how to control the motors so that the robot navigates around the Moon and Earth in various ways. Getting to know the first two sensors. The robot can feel its surroundings with the help of the Touch sensor and avoid obstacles.
The Ultrasonic distance sensor can help the robot avoid obstacles. Students work with concepts like loop, degrees and medium motor. Robots can now do two different actions at the same time - while solving missions on a field, the third motor clears detected obstacles.
- 126
- 123:52
- 150

Level A1. Introduction. Robotics with LEGO
Introduction to robotics - The first level of the Robotics with LEGO curriculum for students in second, third or fourth grades. A journey in space, with robots. Various constructions with robots are built. Learn how to control the motors so that the robot navigates around the Sun, the Moon and Earth in various ways. Getting to know the first of the sensors. The robot can feel its surroundings with the help of the Touch sensor and avoid obstacles.
- 142
- 133:42
- 187

Lesson 6 - Touch sensor
In the next lesson we usually do a graduation. Write down your impressions about the students and the reasons why they have the grades you gave them.
- 10
- 3
- 6
- 3d_rotation 0

Python with LEGO Mindstorms EV3 - Level 2
In the second level of Python for EV3 robots, students learn in-depth the touch sensor. The sensor is used as an input device for manual control of machines, as well as a sensor for autonomous robots. In a pair of lessons, students build a control panel for the grabber and the movement of a crane. Programming wise, students learn how to fork code with "if-else" constructions, how to create conditional and forever loops with "while" and how to negate conditions with "not" operator. In the end of the lesson, robots can detect obstacles and avoid them, so that they traverse a simple labyrinth.
- 39
- 19:58
- 93

Lesson 7 - Passing through a tunnel
For students who will not take two levels in a row today is their last lesson.
- 10
- 3
- 8
- 3d_rotation 1
