On our LED strip, there are two extra wires for power and ground. We don't need them, so we cut them off. There is also an extra connector on the remaining cables. As we will be soldering them to the board, we don't really need this connector, so we remove it as well.

Courses and lessons with this Tutorial
This Tutorial is used in the following courses and lessons
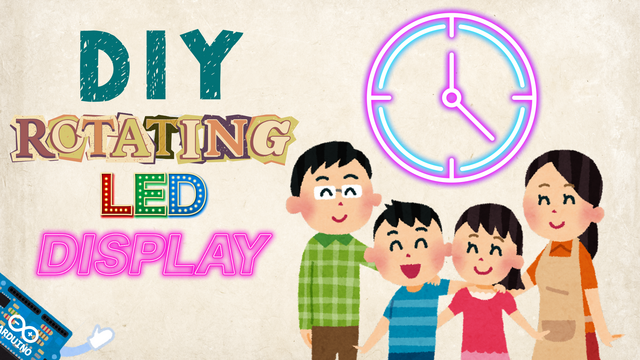
Build a DIY Rotating LED Clock Display – For Parents and Kids (Online and Self-Guided)
Discover the fun of DIY electronics with your child in this self-paced, beginner-friendly online course, where parents and kids work together to build a rotating LED strip display!
Designed for those with no prior experience, this project-based course walks you through the entire process of assembling a spinning LED display that uses persistence of vision to create a glowing clock.
- 60
- 0:00
- 56

Stick Setup – Mounting the LED Strip
Lights On
The goal of this lesson is to connect a 9V LED strip and control it with a 5V controller - without burning anything in the process! To make it work safely, follow the instructions carefully.

- 6
- 2
- 5
- 3d_rotation 0