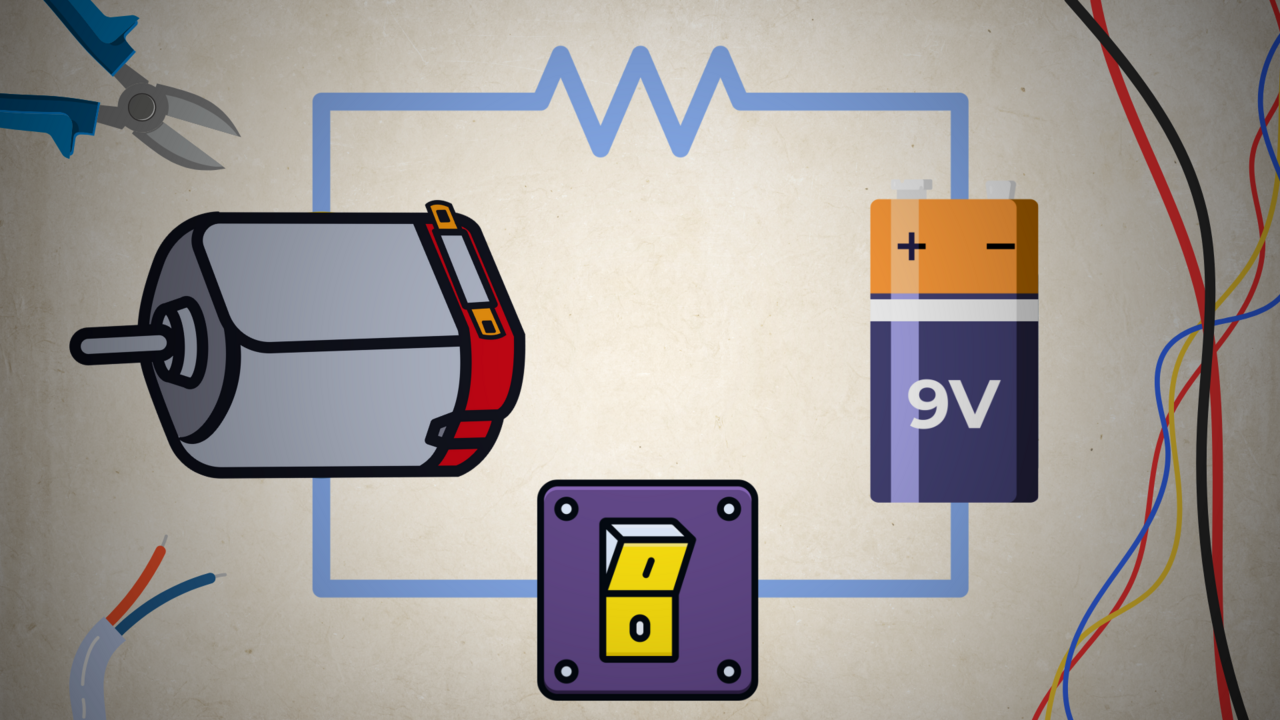
Connecting the other side of the motor directly to the battery will turn it on, but we want a way to control when we turn it on without having to disconnect and reconnect cables constantly. For that reason, we added a switch between one of the connections from the motor to the battery. It may seem easier to use a larger switch, but the DIP switch is meant to be soldered to a PCB, and that is what we'll do in the end.
Courses and lessons with this Tutorial
This Tutorial is used in the following courses and lessons
Build a DIY Rotating LED Clock Display – For Parents and Kids (Online and Self-Guided)
Discover the fun of DIY electronics with your child in this self-paced, beginner-friendly online course, where parents and kids work together to build a rotating LED strip display!
Designed for those with no prior experience, this project-based course walks you through the entire process of assembling a spinning LED display that uses persistence of vision to create a glowing clock.
- 60
- 0:00
- 56

Start Your Engines – Wiring the Motor
A simple circuit

The goal of this lesson is to build a simple circuit to control the motor. We’ve split the steps into small tasks.
If any step is unclear, there’s a 3D model at the end that shows what the finished circuit looks like. Feel free to take a peek.
- 5
- 2
- 4
- 3d_rotation 1