What You’ll Learn:
Tools & materials needed for drilling.
Step-by-step drilling technique.
How to keep yourself safe in the process.
Tools & materials needed for drilling.
Step-by-step drilling technique.
How to keep yourself safe in the process.

Electric drill
Drill bits
Marker or pencil
Ruler
Clamps
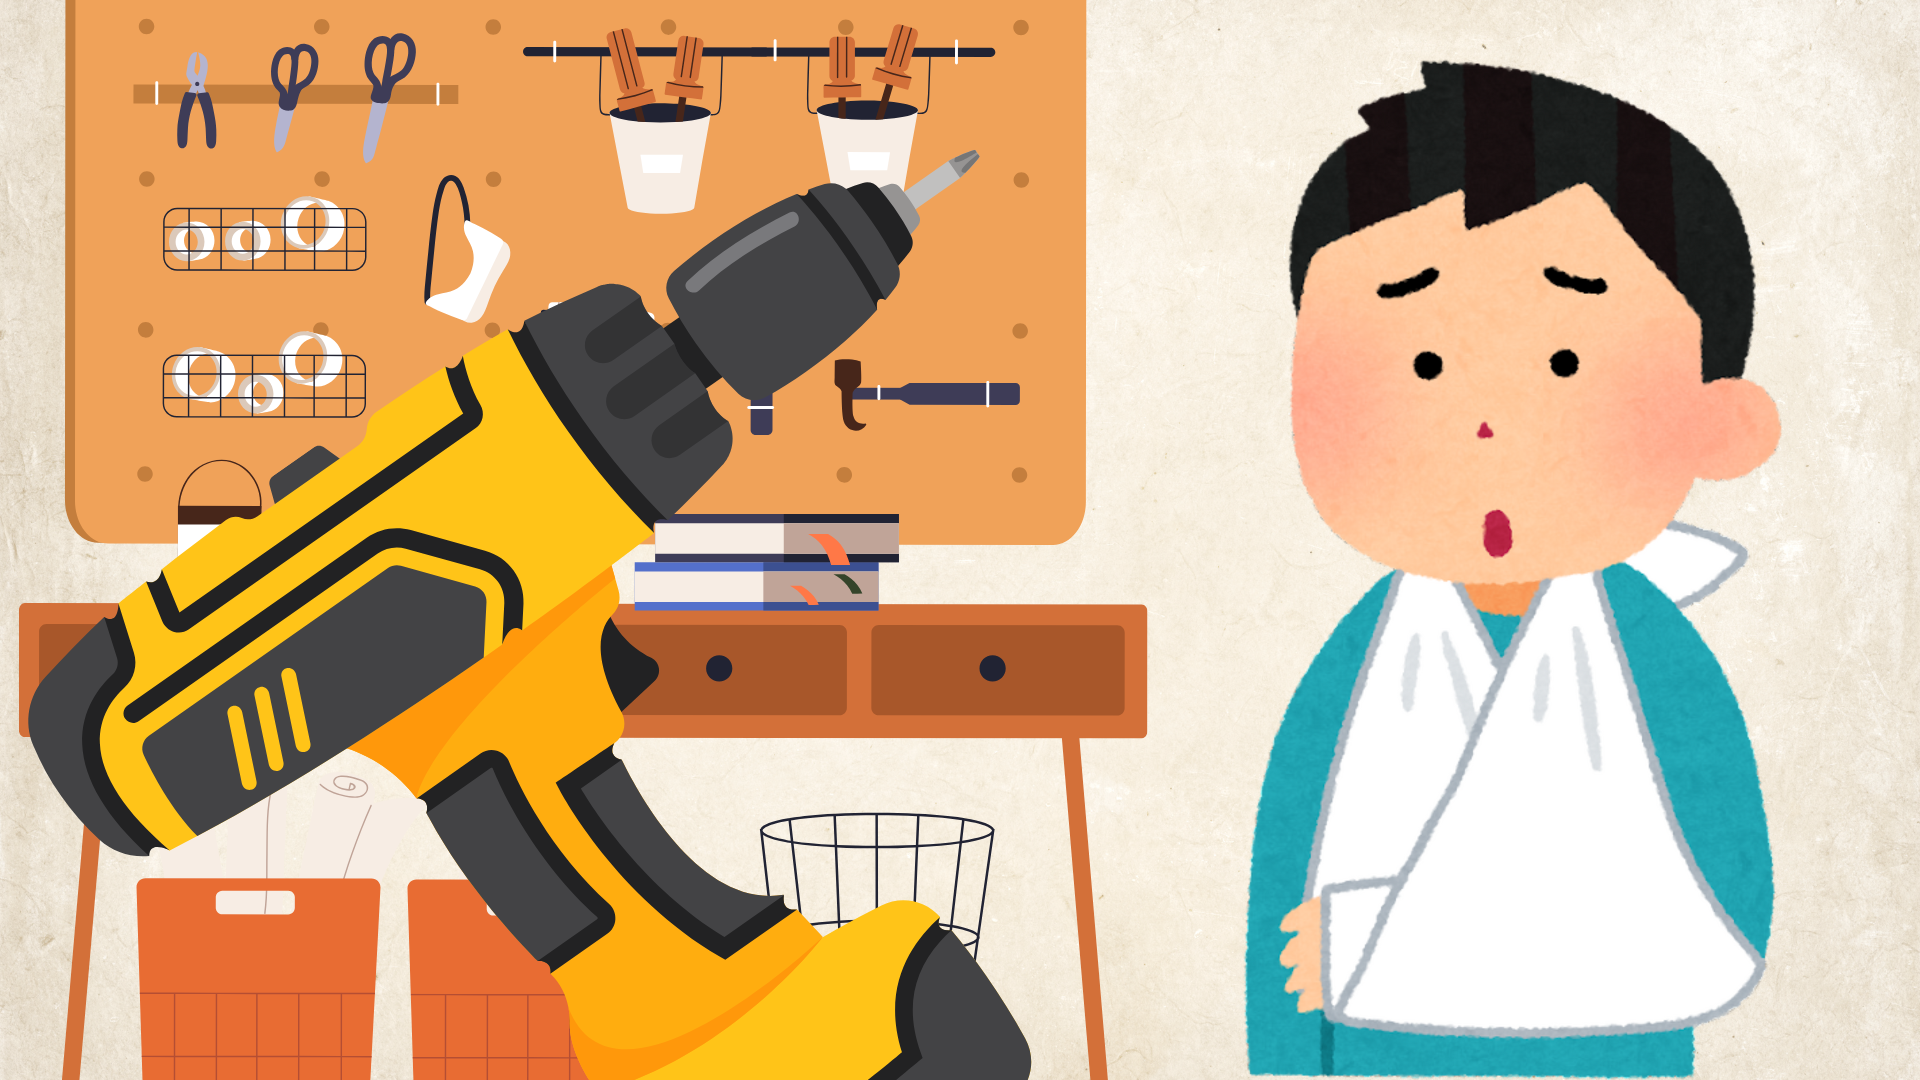
Don’t wear loose clothing or jewelry when using power tools.
Always wear protective goggles.
Mark the hole location
- Use a ruler and pencil to measure and mark exactly where the hole should be.
Set up the workspace
- Place your plank on a scrap piece of wood (to protect your table).
- Secure the plank with clamps so it doesn’t move.
Set up the drill
- The chuck is the part of the drill that holds the bit. It’s at the front of the drill.
- If it’s a keyless chuck, turn it by hand to open or close. If it’s a keyed chuck, use the chuck key to loosen or tighten.
- Loosen the chuck.
- Insert the correct drill bit.
- Tighten the chuck (but don’t overtighten—this can damage the bit or the chuck).
- Check the drill’s rotation direction. If it’s spinning the wrong way, use the direction switch to fix it.
Drill the hole
- Hold the drill straight (perpendicular to the surface).
- Start slowly and apply steady pressure — don’t force it, or the bit may break.
- Drill all the way through into the scrap wood underneath.
- If the drill gets stuck, switch the direction and gently pull it out.
Clean up
- After drilling, vacuum the sawdust.
This Tutorial is used in the following courses and lessons

Discover the fun of DIY electronics with your child in this self-paced, beginner-friendly online course, where parents and kids work together to build a rotating LED strip display!
Designed for those with no prior experience, this project-based course walks you through the entire process of assembling a spinning LED display that uses persistence of vision to create a glowing clock.

In this lesson, you’ll learn how to drill holes in the PCB and mount some circuit components with nuts and bolts. To stay safe, make sure a responsible adult is there to supervise and help you.