We already know how the rotation sensor works. Now it’s time to see how we can use it.

To access the full video please subscribe to FLLCasts.com
- #1093
- 07 Jan 2019
- LEGO MINDSTORMS, LEGO MINDSTORMS EV3
- EV3-G, Classes with students, Programming, EV3, Sensors, Rotation Sensor
The rotation sensor, just like any other sensor, has its own setting in the wait block.
As you can see, the wait block has two modes:
- change
- compare
Today we are going to focus on compare mode only. If you drag your mouse over the compare mode, you will see there are three sub-modes there:

- Degrees
 The robot compares the number of degrees the motor has rotated to a value, which is 90 by default. The block waits for this comparison to evaluate to true before continuing with the next blocks in the program.
- Rotations
 The robot compares the number of rotations the motor has made to a value, which is 1 by default. The block waits for this comparison to evaluate to true before continuing with the next blocks in the program.
-
Current Power
 The robot compares the current power at which the motor rotates to a value, which is 50 by default. The block waits for this comparison to evaluate to true before continuing with the next blocks in the program.
Unlike the other sensors, the rotation sensor is not connected to ports 1 to 4. As the sensor is located inside motors, the ports where it should connect are from A to D, port A by default. Always check whether the sensor is connected to the correct port.

Courses and lessons with this Tutorial
This Tutorial is used in the following courses and lessons

Level D1. "Animals". Robotics with LEGO
This is the seventh level of the Robotics with LEGO curriculum for students in third or fourth grade.
In this level students focus on the rotational sensor that is part of every motor in the robotics set.
Robot constructions imitate animals and their behavior. Students create programs that check whether the robot's claws or pecks have successfully caught an object. That sensor in the motors allows the robots to go back in their lairs even after the use of unlimited movement.
- 23
- 0:00
- 102
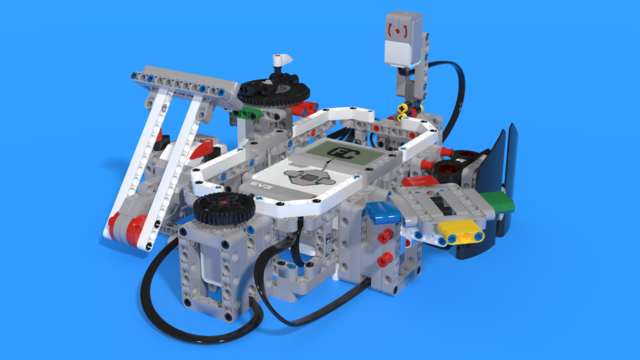
Lesson 1 - Clam
Introduction
In this lesson we will introduce another sensor. This sensor is very interesting as we have already used it many times without even realizing it. The robot we are going to build today resembles a clam. Have you ever seen clams? Have you seen live clams or only cooked ones? Or have you only seen shells?

- 7
- 4
- 15
- 3d_rotation 1
Robotics with LEGO - Level 4.0 - Kinesthetic and Memory Game (in development)
The seventh level of the Robotics with LEGO curriculum for students in sixth or seventh grade.
In this level, student develop a memory training game. The player must remember series of actions like press a button, shake a pole, pull a lever, show one of many colors. In order to program the game, students use many variables and modify their states. Students create their own custom sounds and images, in order to reflect their own personality in the game. In the end of the level, the game stores top scores even after a full shut down with the help of text files.
- 59
- 2:58
- 200

Remember how to work with the rotation sensor
You should already know we can command motors for time, rotations and degrees. It is very clear what happens when we command the motor to move for 3 seconds forward – the brick transmits electric current to the motor which starts spinning and after 3 seconds the brick switches off the current and the motor stops.
However, what happens when we command the motor to move 3 rotations forward? Are there a group of little elves in the motor who count the rotations or is there another explanation?
- 3
- 0
- 0
- 3d_rotation 0
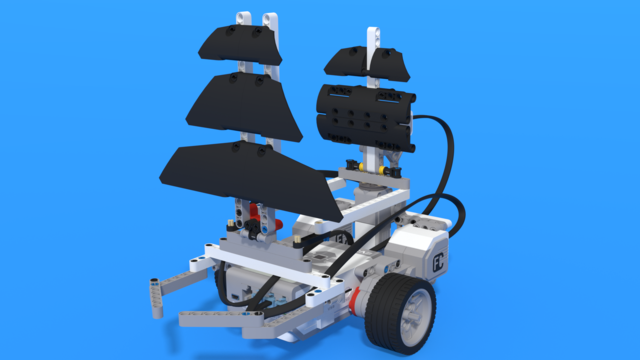
Robotics with LEGO - Level 2.5 - Maritime Journey
The fourth level of the Robotics with LEGO curriculum for students from fifth to twelfth grades.
In this level students focus on the rotational sensor that is part of every motor in the robotics set. Students also learn to use the fourth sensor in the robotics set - the gyro sensor.
First few robot constructions imitate sea-animals and their behavior. Students create programs that check whether the robot's claws or pecks have successfully caught an object. That sensor in the motors allows the robots to go back in their lairs even after the use of unlimited movement. The rest of the robots are modeled after boats, yachts, and ships. With the help of the gyro sensor, students can set a course for their robots to a given angle and can detect deviations from the course. In open seas, there may be sea-monsters and the robots are being programmed to detect a sudden change in acceleration with the help of the said sensor.
- 42
- 3:52
- 133
