

Why start with the phone set up in the Perfect STEM Course
Yes, we know. Starting with the phone when you have a toy car and a Raspberry Pi might seem strange, but this is why we do it.
- #712
- 01 Feb 2018
Yes, we know. Starting with the phone when you have a toy car and a Raspberry Pi might seem strange, but this is why we do it.

This one is also fast. It has assistant wheels, but only to keep the balance. It is built with LEGO Mindstorms EV3 sets with the use of one additional Medium Motor.
Join the course A robot a "day" keeps the questions awake where we will further discuss the motors, how to build them and what tasks to accomplish with them.

The third version of the EV3 Easy Bot. This is a simple and easy to follow robot, that aims at showing the use of tyres on robots. The robot has a gear up ratio and no tyres, so it is quite fast and entertaining.

This is a simple robot, variation of the Earl bot using treads. You can use the attachment to kick balls sideways. The robot is useful in STEM classes where students have to construct robots quickly.

This is the simplest possible line following robot. It has just one sensor in the front between the two driving wheels and uses beams as pivots instead of a third wheel. Try it out. Follow the building instructions and start following lines in a number of minutes.

Don't we all love animals? But it is sometimes difficult to have a puppy at home. Presenting to you - the Puppy robot (drums in the back). It has some of the benefits of a Puppy - it is small, it can follow you with the Ultrasonic Sensor and it can bark (if you program it to). Follow the building instructions. Use it at home or at class.

This is a Camel-like robot. We demonstrate an interesting use of gears to make the Camel walk. Fun and entertaining way to learn how to transform motion.

Build from LEGO EV3 Core and Expansion set this robot looks like a scorpion. The Scorpion strikes, when it sees a pray with the ultrasonic sensor and you can use the touch sensor and the rotation sensor to control the spike movement. It has a scissor mechanism at the back using a system of gears and levers.

The CubeHunter uses the ultrasonic sensor to detect a ball or cube. Next, the robot catches it and reads the colour of the object using the EV3 colour sensor. The building instructions are suitable for classes with students and if you are working alone at home.

With the set for the course, you also have an SD card. It is important that you understand why and how is the SD Card is used.

This is a disk image containing a Raspbian OS. The image is modified and set up specifically for the Perfect course. It contains all the needed files, libraries and additional tools that we would use in the course. The file is quite large so be prepared to wait some time while downloading.
Checksum: 4d85292f49a9350fcef9f2eb8fd86b77f1c6bd65ce1344848de3e201c9e1d20d

Building instructions for Module 1 of the Modular EV3 LEGO Mindstorms vehicle - the Trunk.
The goal of this robot is to teach students how to build modular robots. This first part is just one of the modules.

Building instructions for the second module of the Ugbroid robot - the Base.

We love bears. These are great creatures. Do you know that the Polar Bear is the largest bear there is.
This robot was first constructed years ago for some of the first classes in LEGO Mindstorms Robotics that we held. It is quite challenging, but nevertheless very rewarding when completed and when you manage to program it to walk. Check it out.
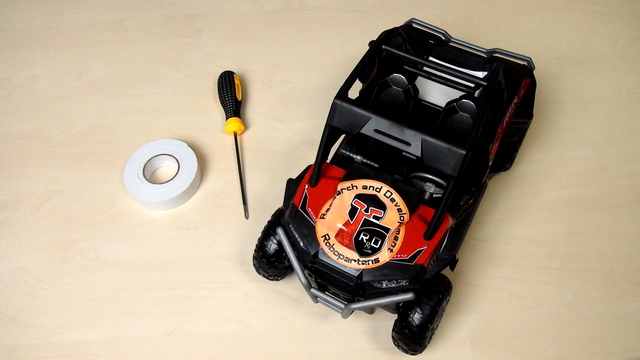
The course is designed to be used with almost every remote controlled car. The process of opening the car will be different for different cars but there are basic principles that you could follow.

Give it a name and you will have power over it. I learned this from an MIT professor. So let's give the part of the car names. Then we could refer to them. Talk to them. Change them. Do all kinds of things with them. Give it a name and you will have power over it.
Building instructions for a LEGO EV3 steering car. We use two large motors, so that the rear wheels will be driven independently by a separate motor. For your convinience, you can use the EV3-G MyBlock for moving the Boomer.

We need to extend the cables to be able to connect them to our Raspberry PI. We must also add new connectors at the end of the cables.

In the set for the Perfect Course, you have 3 different type of cables. They are called Breadboard Jumper Cables. We would need to use them to extend the default cables on the car and to connect the car components to our new controller

We would start connecting a lot of things to the Raspberry Pi. It will be good if we could have some way of referring to the pins on the Raspberry Pi. For example like Pin 5 or Pin 26. Luckily there is such a way.
