

Stripping cables with a lighter
We need to extend the cables to be able to connect them to our Raspberry PI. We must also add new connectors at the end of the cables.
- #744
- 23 Feb 2018
We need to extend the cables to be able to connect them to our Raspberry PI. We must also add new connectors at the end of the cables.

Every electronics tutorial, book or course about Raspberry Pi or Arduino will use a motor driver. Very few of the courses will actually explain why do you need a Motor Driver, what is it for?

Give it a name and you will have power over it. I learned this from an MIT professor. So let's give the part of the car names. Then we could refer to them. Talk to them. Change them. Do all kinds of things with them. Give it a name and you will have power over it.
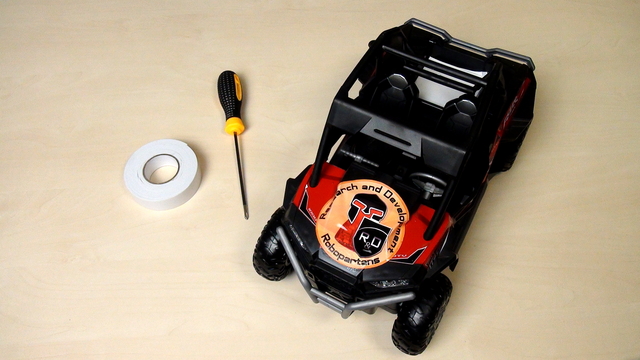
The course is designed to be used with almost every remote controlled car. The process of opening the car will be different for different cars but there are basic principles that you could follow.

This is a remote control car. Have fun with it before disassembling it.

The course is very suitable for students and you don't have to buy a new set for each student. You can group them, divide them, organize the use of the sets and you could technically work with 70-80 student with only 6 sets.

Time to experiment with the controller, the diode and the program that makes the diode blink. Don't be afraid to change the program. We've prepared a number of tasks for you in the course that you should definitely complete before moving forward.

In this episode we would modify the blinking diode program so that the diode will stay on for four seconds.

Safety notice: There is current flowing in this device and you can touch the device with your bear hands. This is not dangerous, but there are a few things that you should consider especially in class.

As a result from the previous two videos we have a diode that is blinking. What will now happen with the diode if we remove the power and change the position of the legs.

To correctly upload the blinking diode program to the controller we must first check some of the configurations of software. These are the "selected controller" and COM port

For making the diode blink we just use one of the examples available in the Arduino Software.

Arduino programs are developed with a software and this software is downloaded from the http://arduino.cc site.

Developing a program for the Arduino is very easy. We need to do again three thigs:

You have the controller, you have the diode. The controller has a number of pins (holes). Where should you put the diode so that it starts blinking?
The small holes on the controller are called pins. On our controller we have 32 pins. The more pins that you have, the more elements you can controller with this microcontroller. For this video the interesting pins and 13 and GND

For the current specific example we need two parts - the diode and the controller. In this episode we would show you which part is the controller, which are the jumpers and finally we would choose a diode.

Why: It's an easy and fun example to introduce you to Arduino
How: Presenting questions and trying answer this questions. Experimenting with different tasks.
What: We would like to show you how to control a diode. We would build a device and write programs for this device.
End Result: A blinking diode

It is a hardware/software related course. You need a set with parts. And you need a number of sets for a class of students. You can buy the set from us, from other vendors, from online retailers. It doesn`t matter actually as long as you have the needed parts for the course. We have tried to create a very lean set, but if you can afford to buy additional parts you could create more complex and probably more interesting devices.

The course is designed for classes of students, but it could also be used personally. Each module should take you about 20 minutes and depending on how long your student hours are and how much time you will leave the students to experiment and solve tasks you could include different numbers of modules in your class.

This is a course for beginners, but the tasks would be interesting and for more intermediate students. We do not expect any previous knowledge from you except for how to divide numbers and use a computer.

Answering three questions:
Why - because we believe any student and basically anybody must have a basic understanding of how electronic works. This course gives us the chance to present it and to move forward to better and smarter robots.
How - we do videos, we set tasks. You solve them.
What - we are using Arduino. Because it is popular, it is easy and we like it.