
Task - Initialize an array at the beginning of the Advanced Calibration program
Implement the program for array initialization.
Follow the video tutorials for initializing arrays and implement the program.
- #638
- 04 Oct 2017


Implement the program for array initialization.
Follow the video tutorials for initializing arrays and implement the program.


Many times we just upload blocks and leave it up to you to use it. In this tutorial, I would like to show you how to use the implemented blocks. How to import them into the EV3-G software. How to see them in the palette. How to drag and drop them to build a working program.


Following the Advance Sensor Calibration course section, we found the min and max values detected by each sensor. Now it is time for the real deal of the calibration. Detect the current value from the sensor and find what is the percentage of this value for the range between min and max.


In the course section for Advance Sensor Calibration we previously showed you how to find the minimum and maximum value for a single LEGO Mindstorms Color Sensor and to store this value in an array. The program was implemented with the EV3-G software. In this tutorial we are going to find the Min and Max for all the four sensors and to store all the 8 values in an array.


In this tutorial, we would implement a program that finds the minimum and maximum value detected by the sensor and stores this two values in an array.


"Array initialization" is the first step in every program that involves Arrays. This applies to most programming languages and for EV3-G it is a must.
In this tutorial, we would show you how to initialize the array and how to extract this logic in a new block

Would you like to resolve all the problems with the light/color sensors that you have? And to make all of them work in a predictable, stable way even when using more than one MINDSTORMS colour sensors.
When using Color sensors it is important to calibrate them depending on the light conditions in your venue. In this way, the calibrated sensor will show values between 0 and 100 independent of the light conditions. But using the default EV3 colour calibration available in the colour sensor block could lead to unpredicted problems that are difficult to track and resolved especially when used with multiple Color sensors. So in this series of tutorial we implement the calibration ourselves discussing the principles of colour sensor calibration.


We discuss the state of "Lost" and the different ways we could escape this state. We also build the next step of our State machine programming pattern where the next state is determined by the previous state.


All worked as expected, up until know because the robot got lost. This happens when we turn right and the line does not continue to the right. Now the robot must somehow understand that it is "lost" and escape.


We can Turn Right. We can Turn Left. How do we decide which way to go if there are lines both to the left and to the right. Check out the video.


Next state in our state machine programming pattern is the "Turn Left" state and the corresponding behaviour.


Next important state is Turn Right with our robot. This happens when we detect a line on the right.


We've detected the gap. It's time to move over it. This is difficult because we have to detect where the line is after the 0.1 meters gap on the line following field.


It's inevitable. While following this gapped line we would reach a gap. The robot must somehow understand that there is a gap and must make a decision on what to do. For detecting the gap we use the Rotation Sensor. Not the most popular, but very convenient in many cases. Check out the video.


The final video from the course. The robot escapes the state where it is lost. This happens if it can not continue in any direction.


We follow a line. We start from the Smooth Proportional Line Following program and modify it a little for this program. We follow the line with the middle sensor attached on port 2.


We extract the Proportional Line Following algorithm into a new block with parameters. This allows us to experiment with the Threshold, Constant Speed and Relaxation Coefficient. You can now easily use the block in you other programs without having to implement it.


We list the number of decisions that the robot is making while following the line. Then, we group them and decide on the number of sensors to be used.

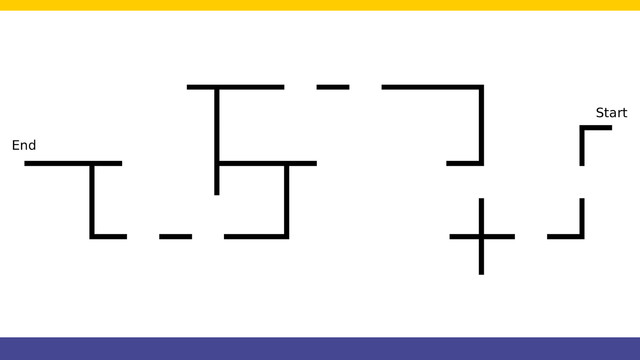
Looking at the field we must first think of a strategy of solving this line following problem. There are rules that the robot must follow and these rules should be programmed in the robot.

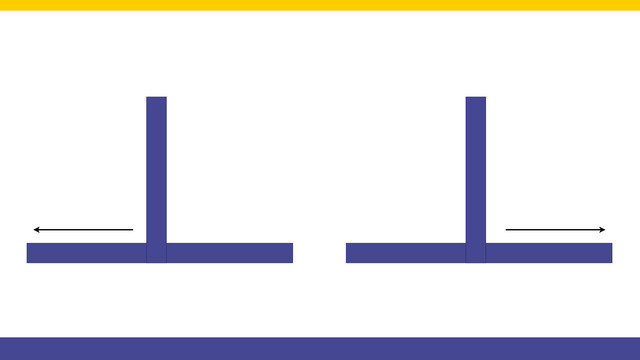
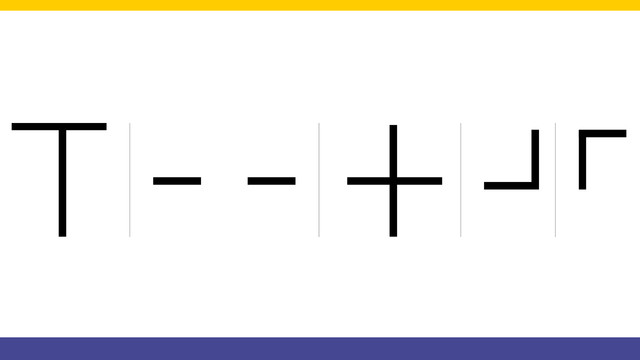
We start a course for following a line with crosses and gaps. This is a challenge that one of the users at FLLCasts.com was trying to accomplish and asked us for advice. We present the whole challenge to you step-by-step. But first, let's also see the whole run of the line following algorithm. With this course, we also do an introduction of using State Machine as a programming pattern.


This second part continues with importing two previously developed in Episode 53 blocks into our program. With them we can for align to lines. We program the robot to align to the cross line and start following it.


How do you detect a cross-section and move from following the main line to following the crossing line. In this series of video tutorials we are starting with a very simple solution that could work in most of the cases. It is especially useful for the FIRST LEGO League Trash Trek competition where there is such a section.


Last part of the series. The final touch of the program makes sure that it works and is following the line with the LEGO Mindstorms EV3 Color Sensor in a smooth and fast way.


Continuing with the Proportional algorithm for following lines. Smooth and stable this is the first part of the PID.

In a competition environment like the FIRST LEGO League (FLL) or World Robotics Olympiad (WRO) the color sensor is more than useful. It makes positioning on the field quite easy and precise.

The way you move the robot is always imprecise. Don't TRY to fight with this. Programming motors for competitions like the FIRST LEGO League (FLL) or World Robotics Olympiad (WRO) is not very different from programming the motors in the STEM classes. But there are a few things you should have in mind.