Every once in a while you need to make your motor rotate indefinetely. In such cases we use the On setting of the move block followed by a wait block and then finally another move block set to Off. But what happens if we want to make the motor rotate forever not waiting for any sensor? If we just put a move block and set it to On, it will not work. So how can we achieve that? Learn bellow the most common techniques to make a motor rotate forever.

To access the full video please subscribe to FLLCasts.com
- #1249
- 02 May 2019
Before we get into how to make it work, we firstly should explain why it does not work when you put a single move block set to On. A program with a single move block will work if the program does not end. However, as there is just one block in the program and that block does not "wait" but let the program "continue" to the next block and there are no next blocks, the program just finishes. As a result all of the motors are turned off. This is what happens always when the program exits. So we just need to figure out a way to make sure the program will never exit.
The first two ways are the most common. Moreover it is easier to understand and "read" the programs if you use one of the first two options. We advise you to use them unless your program demands another approach.
-
Unlimited loop
- Put a move block set to On inside of a loop set to Unlimited. This way we will constantly turn on the motor and it will rotate forever.

- Put a move block set to On and after it put a loop block set to Unlimited. It is almost the same idea as the previous one, but here we start the motor and then the loop does not allow the program to end as it loops forever. This results in the motor rotating forever!
 .
.
- Put a move block set to On inside of a loop set to Unlimited. This way we will constantly turn on the motor and it will rotate forever.
-
Impossible or unmeetable conditions
- After the move block set to On, we can add another move block. The second move block needs to drive a motor that is not connected to the brick and set to rotations or degrees. As the motor can not be rotated, the block will never finish and as a result the program will never exit. This will not work with seconds as this does not need to have the motor rotating it just needs to wait for the set amount of time to pass.

- Another approach is to add a wait block for a sensor that is not connected. This will also work if we use different sensor from the one connected to the given port. As an example, if we have a touch sensor connected to port 1 and add a wait block that waits for the ultrasonic sensor to detect a distance equal to 50 cm. It is important to choose a value that does not exist in the right sensor. So in the example of the touch sensor 255 will be a bad value to use as the brick will read the pressed touch sensor as 255 cm distance measured by the ultrasonic sensor.

- Same as the previous, but a more special case is to use wait with rotation sensor for the motor we are using, but with a value that it will never reach. So if we are moving the motor forward and we wait for it to reach -1 degrees.

- After the move block set to On, we can add another move block. The second move block needs to drive a motor that is not connected to the brick and set to rotations or degrees. As the motor can not be rotated, the block will never finish and as a result the program will never exit. This will not work with seconds as this does not need to have the motor rotating it just needs to wait for the set amount of time to pass.
- The last option is handy if you want to perform some check every once in a while. We put a move block, set to some number of degrees, inside a loop block set to Unlimited. Note that you need to set the Break option to False, so that the movement of the robot is smooth.

All of the mentioned approaches work with both EV3 Large and Medium motors and all of the move blocks.
Courses and lessons with this Tutorial
This Tutorial is used in the following courses and lessons
Level D2. "Seafaring". Robotics with LEGO
The eighth level of the Robotics with LEGO curriculum for students in third or fourth grade.
In this level, students learn to use the fourth sensor in the robotics set - the gyro sensor. The robots are modeled after boats, yachts, and ships. With the help of the gyro sensor, students can set a course for their robots to a given angle and can detect deviations from the course. In open seas, there may be sea-monsters and the robots are being programmed to detect a sudden change in acceleration with the help of the said sensor.
- 24
- 2:49
- 107
Lesson 3 - Storm Simulation
Introduction
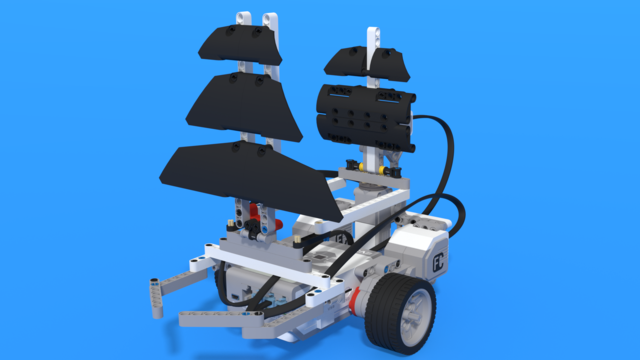
Today we build a simulator! We will simulate a small ship motion in waves. The goal is to develop a system that turns the ship in the right direction so that it does not roll over due to the waves.
Do you remember the type of vessel we built in the previous lesson?
It was a sailboat! Today, we will move towards modern ships, because the little ship we will test is a steamship.
- 3
- 5
- 12
- 3d_rotation 1
Robotics with LEGO - Level 2.5 - Maritime Journey
The fourth level of the Robotics with LEGO curriculum for students from fifth to twelfth grades.
In this level students focus on the rotational sensor that is part of every motor in the robotics set. Students also learn to use the fourth sensor in the robotics set - the gyro sensor.
First few robot constructions imitate sea-animals and their behavior. Students create programs that check whether the robot's claws or pecks have successfully caught an object. That sensor in the motors allows the robots to go back in their lairs even after the use of unlimited movement. The rest of the robots are modeled after boats, yachts, and ships. With the help of the gyro sensor, students can set a course for their robots to a given angle and can detect deviations from the course. In open seas, there may be sea-monsters and the robots are being programmed to detect a sudden change in acceleration with the help of the said sensor.
- 42
- 3:52
- 133

Lesson 7 - Aircraft Carrier
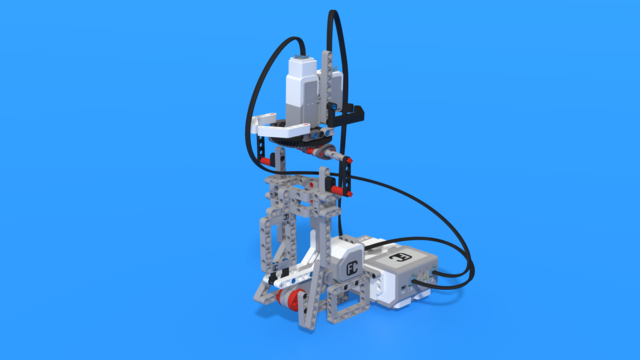
Here is Iknathir - a LEGO Paper Plane Launcher. Just take a piece of paper, fold it to create a paper plane, place it on top of Iknathir, press the lever forward and the plane will be launched in the air. If you are not sure how to make a paper place, we got you covered! Just go to the following tutorial - How to make a simple paper plane. Feel free to experiment with the structure of the plane. How far can your plane go?
- 6
- 4
- 11
- 3d_rotation 1