

Box Robot Two. Push/Pull attachment with a Rack on the right side
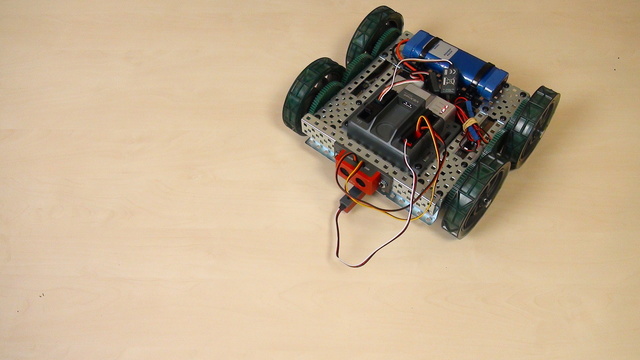
Need to transfer circular into a linear motion. You need a rack. Here is an attachment with a rack for our box robot.
- #511
- 30 Mar 2017
Need to transfer circular into a linear motion. You need a rack. Here is an attachment with a rack for our box robot.

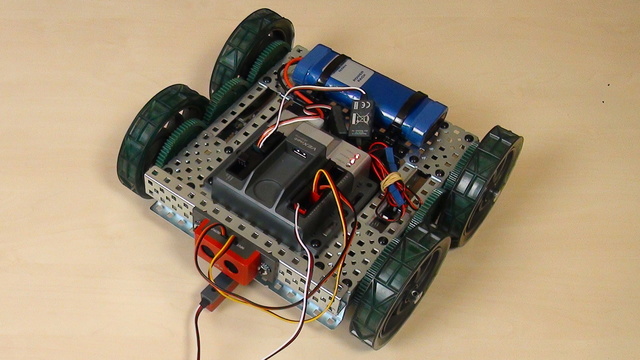
The important task before the solution. If you haven't done it already, then attach a new axle at the front of the robot and extend the construction with gear wheels and axles to reach the two legs at the two sides of the robot.

Construct two legs for both sides of the robot. The task for this video is to attach this two legs on both sides and to build a system of gears and axles that power those legs.

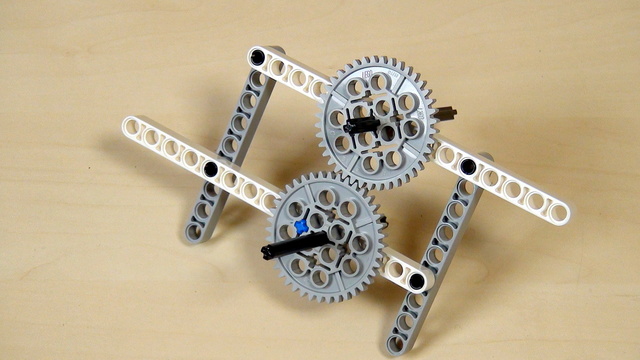
Sometimes the way an axle is placed is just not suitable for a certain attachment and you should transfer the motion to another axle a few LEGO units above the current.

This one is very special- an attachment that could lock itself on purpose while working.

Try to build the attachment following the instructions. Use it to actually solve a mission from any competition (like taking loops)

In this Episode, we create the next attachment for the box robot two. It is again a pinless attachment, attached to the frame that transfers the motion to a vertical axle.

In this Episode, we stop at the pinless attachments for the Box Robot 2 and especially for the constructing a frame. This frame is then used for further extending the robot with attachments.

The most stressed wheel in our system is the driven wheel. We've already fixed the problem with the driving wheel of the scissor mechanism and now it is time to look at the drive LEGO Mindstorms wheel.

Where is the math while turning? Is there any math involved? Should there be?

Here is the task for adding a beam on both sides of every gear wheel in your attachment.
The next important step when turning with a robot is to learn how to do an Arc turn.
One of the very common problems with the LEGO Mindstorms and LEGO Technic Gear wheels is then a tooth is skipped. In this video, I would like us to discuss this challenge and how do we solve it.

Spinning with the VEX EDR robot involves the use of both motors. The left and the right. Every robot with wheels could spin and this makes not exceptions.

It this episode we would present you with our attachment for lifting the robot.

How does this construction of VEX EDR turn? It has two motors. Let's start with turning right

Experiment with changing the orientation and direction of gear wheels. Here are part of the tasks that you should complete before moving forward with the course.
With this video tutorial, we start with Turns with the VEX EDR robot.

In this tutorial, we would drive the scissors mechanism and there are a number of rules that we must follow

Before moving forward here is the simple task of building the mechanism and extending the legs. Extend the legs to fifteen LEGO units.

The final way for lifting our box robot is by using a scissors mechanism. In this Episode, we would discuss the benefits and advantages of this mechanism.

Бележки за построяването на Петминутен робот.

В това видео ще покажем как се строи Петминутният робот и ще го прегледаме накратко.

In the EV3-G software, you could use negative numbers for power and rotations. In this episode, we would look at what is the meaning of this numbers and make a few notes of where the teacher must be more careful.

Once you start turning how to do you a whole 180 degrees turn. The robot almost does it, but not completely

В EV3 софтуера за програмиране има Танк блокче за движение. То ни позволява да задаваме различни мощности на всеки мотор.
В живота подобно нещо се използва при автомобилите. Системите за управление на сцеплението с пътя (tracktion control) предават различна мощност към всяко колело на автомобила, така че колата да остане стабилна на пътя и да не поднася.

We will share the idea behind that challenge and how to conduct the challenge in a classroom.