The first mission you ever accomplish when working with current and electronics is to get a lamp, working. In our case, it won't be a lamp, it will a diode. Using a few batteries we should be able to "turn on" the diode and make it emit light.

Необходимо е да се абонирате за FLLCasts.com, за да достъпите това видео
- #679
- 13 Feb 2018
TL. DR.
Connect a cable to each pin of the diode. Connect one of the cables to a battery. Connect the other cable to another battery. No more than 3 batteries in between.
How many batteries should you use?
If you are using AA batteries then 1 is not enough and 4-5 is too much. The process is the following: try with 1 battery and see that it does not work. Try with two batteries and see if it works. Try with 3 batteries and see if it works. Be prepared that if you try with more batteries you might burn the diode and you will have one diode less.
Wait! What?
Starting from the beginning. There are different types of batteries. The standard batteries for the toy cars are referred to as AA batteries. Below is a picture of AA batteries. What does AA mean? It is basically a standard size for the batteries - link with more.
 To make the diode blink you need current to flow through the diode. For current to flow you need three things. Source of electrical voltage, cables and a consumer. And you need all of them to be connected. Each battery is a source of electrical voltage. We will stop here with voltages, current and power and we will discuss them further in the course and continue with connecting them.
Connect the batteries to the diode. Use the batteries holder
The way we will connect the diode to the batteries is pretty unique. We would use the batteries holder for this because it already contains the batteries and keeps them in place.
- Connect diode with cables. The grey cable is connected to the longer diode pin. You can use different cable colours.

- Number the batteries in the holder from 1 to 5 and place the cables on the ends of battery 1 and battery 3. Be careful, because if there are more batteries between the end of the cables than you will burn the diode.

Курсове и занятия включващи този Урок
Този Урок е използван в следните курсове и занятия.
Perfect STEM course. Module 1 - Smart Car with Raspberry PI
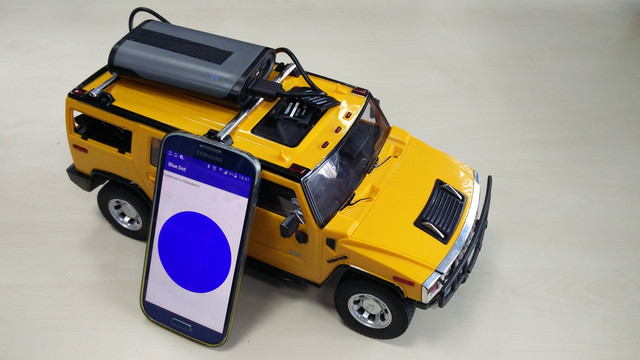
Disassemble a remote control car. Change the brain of the car with a smart computer like Raspberry Pi. Build a smart device with artificial intelligence that you could control from your phone and that could freely navigate itself in the real world and on the Internet. Use your hands. Develop programs for your robot and your phone. Be curious and invent.
The perfect course lives up to its name. You move through the content, we check it and return feedback to you.
In the end, you should be able to better understand how to program and design smart devices that would make the world a better place. For everybody age 12+, 16+, 21+, 35+, etc. The hardware costs about 150$. It changes through the years so it might take some time for you to find it as Raspberry PI, motor drivers, power banks and h-bridges.. they change. Note that the course was designed to be led by a teacher with a decent knowledge in embedded hardware and software. This, on the other hand should not stop you, if you are curious.
- 118
- 42:47
- 136
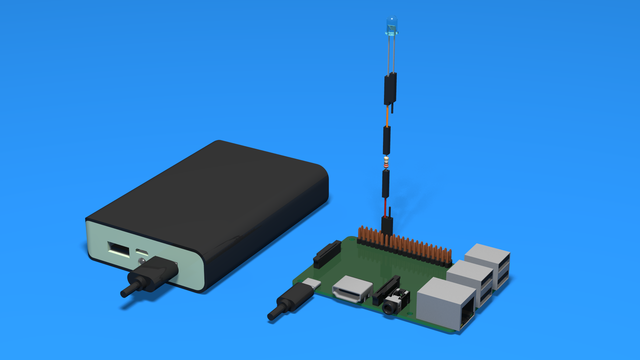
Add a diode to indicate controller power up
On the Disk Image for the perfect course containing our modified Ubuntu Mate version, there are some special programs that will start a diode when you turn on the Raspberry Pi.
- 5
- 0
- 6
- 3d_rotation 2