
Contain and release ping pong balls. WRO Elementary 2015. Part 2
Improving the construction for the World Robotics Olympiad missions. The improvement is in the position of the sensor and the size of the balls container.
- #137
- 12 Dec 2015
Improving the construction for the World Robotics Olympiad missions. The improvement is in the position of the sensor and the size of the balls container.


Don't limit yourself to the box and think of different ways to lift the robot.
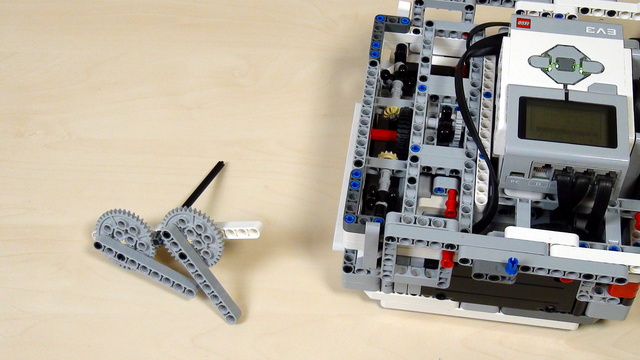
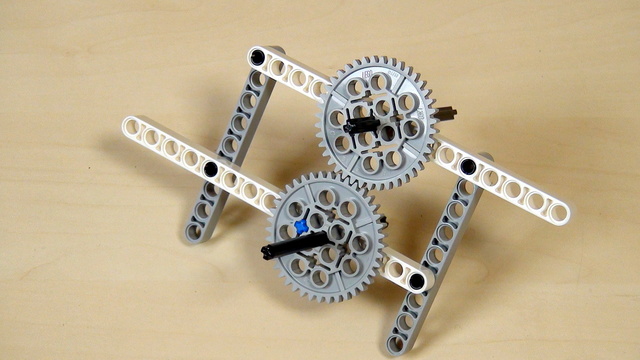
Time to lift the robot. The first approach is by using the 40 teeth gear wheels that come with the LEGO Mindstorms EV3 and NXT robotics sets.

How should an instructor use this course when working with students and a group of students in school

Previously we caught the Truck with two rubber bands. The next step was to lift it. For lifting we used the Medium LEGO Mindstorms EV3 motors. In this video we are extending the attachment so that we could catch also the Ambulance. In forth video we would explore how to release both vehicles after transporting them.

The final video from the course. The robot escapes the state where it is lost. This happens if it can not continue in any direction.

In this second part we continue with the next few tasks from the FIRST LEGO League (FLL) 2013 competition. Using the same rubber band attachment we lift the house and collect a few of the humans and cargoes.

Where should you lift the robot? Especially if you don`t have the mission model that we are using

Build a robot base to use in the course. You can use the robot base provided by us or you can build one yourself.

Note for the teacher on how to organize the class to use different robot base constructions to accomplish the mission for lifting.

Based on your feedback we have decided to show you the live process of building a complex LEGO Mindstorms EV3 Competition robot without having the whole robot ready yet. We are continuing from part 2 where we finished the 'front' of the robot and now we will extend it so that we could also attach the rear part.

As an extension to the previous video we talk about the Hi Technic Color Sensor again.

Many times we just upload blocks and leave it up to you to use it. In this tutorial, I would like to show you how to use the implemented blocks. How to import them into the EV3-G software. How to see them in the palette. How to drag and drop them to build a working program.

Направете сами, коригирайте грешките в конструкцията на EasyBot-а.

Build a similar mechanism to this one. Similar, but for your robot. This is the task for you. Try, give yourself half and hour or even an hour.

This third way of positioning the LEGO Mindstorms EV3 motors on the robot seems to be the most productive with the most advantages. We have named it "correct", but we completely understand there might be other even more efficient ways to position the motors on the robot.
One of the very common problems with the LEGO Mindstorms and LEGO Technic Gear wheels is then a tooth is skipped. In this video, I would like us to discuss this challenge and how do we solve it.

Днес ще ви запознаем с имената и употребата на частите в един стандартен робот.
Важно: Различаваме и разделяме частите по форма не по цвят.

Ще ви покажем какви са типичните проблеми, които правят учениците, когато строят робот.

The challenge for this video is to program a menu that is controlled from the LEGO Mindstorms EV3 brick screen.

След като вече изпробвахте и се справихте с предизвикателство, включващо поредица от инструкции, искаме да ви представим някои добри практики.

How to organize the different robots and group of students when working on lifting the robot.

After we take each sample, we perform calculations and these calculations could take different time. It is important to know how much time does it take to perform the calculations. In this video tutorial, we would data log the time and plot the data.

In this video tutorial we would discuss the M13. OBSERVATORY mission from the FIRST LEGO League robotics competition 2018-2019 Into Orbit. This is an easy mission. You can accomplish it by pushing the level with the robot. The challenge is that there is not enough space to move with the robot around the attachment. Let's discuss how we could achieve it.

Когато строите по инструкции, има някои често допускани грешки.

This second way of positioning the LEGO Mindstorms EV3 motors on the robot leaves more space for the Mindstorms brick and for attaching a third motor. We are experimenting and showing the advantages and disadvantages of this particular construction.
