You can notice that the two positive terminals are placed in the middle. That is a common practice that has a few functionalities, like shortening the paths on the PCB, but the main purpose is to lower the chance that the power cables connected directly to the battery are more difficult to touch accidentally.
Необходимо е да се абонирате за FLLCasts.com, за да достъпите това видео
- #2515
- 07 Nov 2025
Курсове и занятия включващи този Урок
Този Урок е използван в следните курсове и занятия.

Build a DIY Rotating LED Clock Display – For Parents and Kids (Online and Self-Guided)
Discover the fun of DIY electronics with your child in this self-paced, beginner-friendly online course, where parents and kids work together to build a rotating LED strip display!
Designed for those with no prior experience, this project-based course walks you through the entire process of assembling a spinning LED display that uses persistence of vision to create a glowing clock.
- 60
- 0:00
- 56
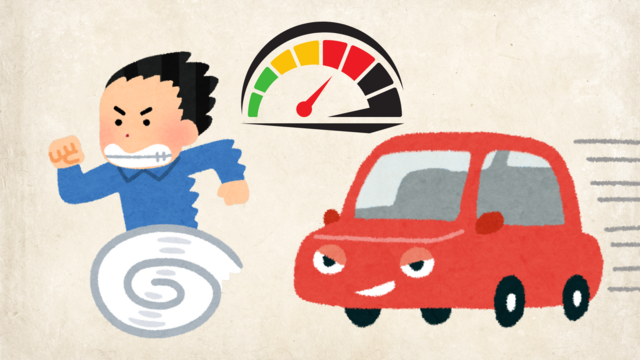
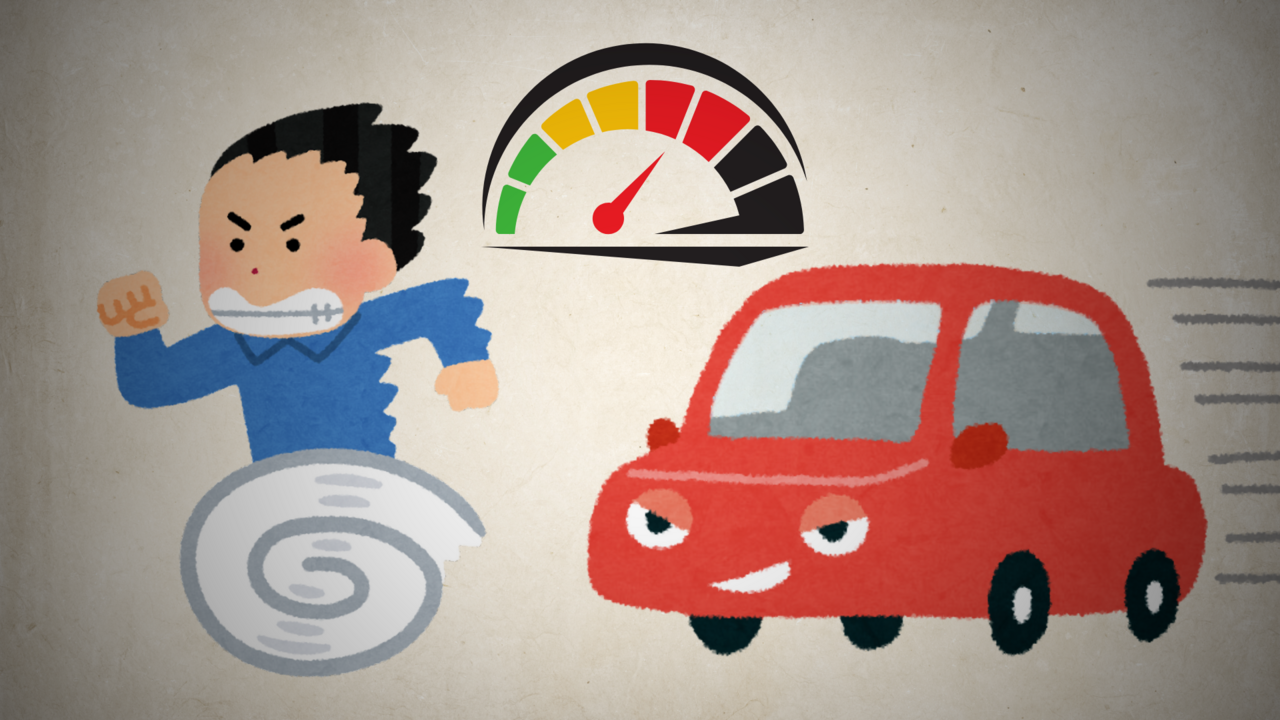
Dial It In – Adjusting the Speed
Taking control

The goal of this lesson is to rebuild the circuit from the previous lesson so you can control the motor's speed. We’ve broken the steps into small tasks.
The motor controller has its own resistor, so you won’t need one here. But be sure to follow the instructions carefully - without a resistor, the circuit could short. There’s no risk to you, but it might damage some components.
- 7
- 2
- 7
- 3d_rotation 1