

BigDaddy Second Motors Position - second way to position the LEGO Mindstorms motors
Building instructions for this part of the BigDaddy competition robot
- #190
- 22 Mar 2015
- 1
Building instructions for this part of the BigDaddy competition robot

Instructions for building the five minutebot used in the tutorial.


Сложното в този механизъм са краката на стоножката. По-долу имате инструкции за тях.
Останалата част от стоножката трябва да създадете сами по картинката по-долу.
Този робот трябва да се свали, за да се построи.
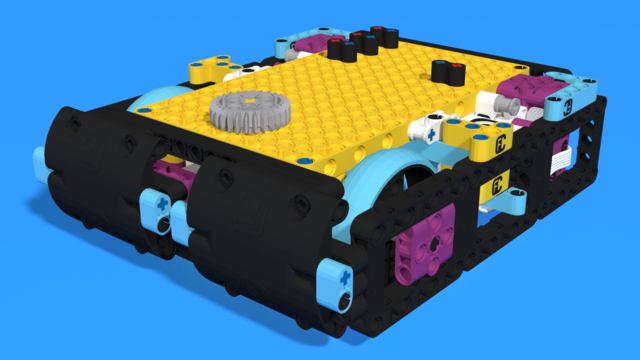
This is the beautiful version of the robot. :) It is more likely for having fun, than use it for competition. It have beautiful front that is not very useful for a competition, due to larger attachments, but it is a little bit more stable than the "uglier" and smaller version. :)
This robot is very low, relatively compact and very hard to control. To move as desired it must carry heavy attachment between its front tires. It also needs often clearing of its rear balls and the beads where they are positioned. Ones that is done the robot becomes pretty accurate. If you change the front tires with tires that have higher grip than the ones in the Spike set it becomes precious. Spike Prime Tires don't have grip but looks good. :)
It is ideal to learn how to control robots in real world applications where nature plays bad jokes on the engineers.
The two color sensors look up so it can see the attachment control parts, so it decides what part of the program to run. It have only one attachment motor with only 1 attachment element - 28 Teeth and 4 holes Gear.
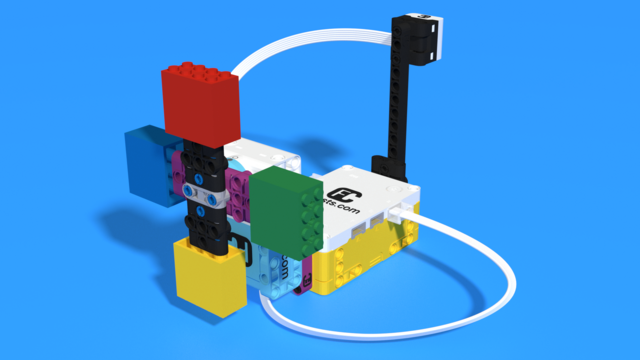
Мален произлиза от Малентенду, което на френски означава недоразумение.
Роботът има цветно колело с 4 цвята отзад и сензор за цвят отпред. Когато покажете цвят на цветния сензор, робота може да го покаже обратно. Можете да свържете няколко такива робота, за да направите развален телефон!
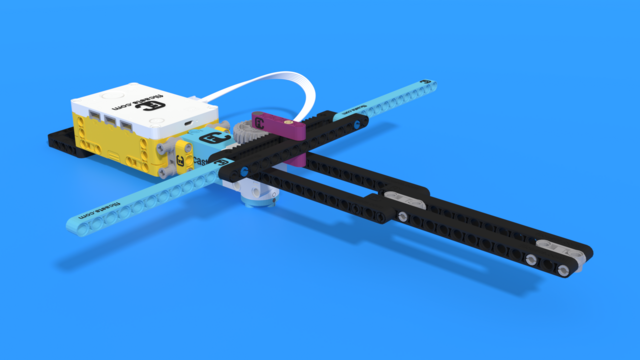
Пага идва от известния цигулар Николо Паганини.
Роботът е направен да прилича на цигулка. Той пуска по-висок тон колкото по-бързо се движи мотора. Да видим дали ще се справите да свирите на него!

A FIRST LEGO League 2023-2024 attachment for the MiniBox Robot.
This attachment is designed to detach, once it completes its purpose. This is done, so that the team loses less time switching attachments in the base, lowering the chance of human error during the competition.

This robot is made to serve as a cautionary tale for the line following robots with exposed to the ambient light sensors.

Third version of a reusable gear attachment. In this scenario a single motor could power two different axles in two different directions. If you use it to accomplish a mission do not forget to send us a video. We would love to see it.

This 3D building instruction is about a FIRST LEGO League 2020 mission called the Slide mission. To accomplish the mission the LEGO Robot must take two LEGO minifigures from a slide and bring them back to base. The whole attachment is built only with parts from LEGO Mindstrorms Robot Inventor Set.

These are instructions on how to build the:
You can find more building instructions and tips and tricks about the competition on this page.

These are instructions on how to build the:
You can find more building instructions and tips and tricks about the competition on this page.

These are instructions on how to build the:
You can find more building instructions and tips and tricks about the competition on this page.

This is an innovation construction for accomplishing the FIRST LEGO League 2020 Replay Innovation project mission. The goal of this project is to build something new and innovative during the competition.

This is a LEGO Education SPIKE Prime robot attachment for accomplishing the FIRST LEGO League 2020 Replay Rowing Machine Flip mission . The attachment is designed for Gazon, LEGO Education SPIKE Prime competition robot.

These are instructions on how to build the:
for the FIRST LEGO League 2019-2020 City Shaper Challenge.
You can find more building instructions and tips and tricks about the competition on this page.


We want students to be able to easily find the parts and to put the parts back in the designated compartments.
Files are printed on both sides of 160-gram sheet of paper A3 format.
The sorting sheet is designed to fit in the cover of the box. To gather in the lid, the excess parts of the printed sheet must be cut off the markers on the front of the sheet.
To extend the life of the sheets, you can laminate them either with a "laminate matte" or a simple laminate. The disadvantage of the simple laminate is that there is a lot of gloss. The disadvantage of laminate matte is that it has to be sealed with a clear PVA C-200 adhesive to prevent it from opening over time.
We recommend printing doublesided and turning over the "short edge", like a book. If you decide, you may flip the printed result over the long side. Both options are available at you local print center.

Building instructions for the speed bump mission model. The models is used in the Speed bump mission of FLLCasts Off-season Challenge 2019.


